I am an inexperienced individual trying to experiment with building a mesh network, starting from hacking routing devices. I am a designer and, first of all, I am currently a student, meaning my interest is to learn and gain knowledge. I have no previous expertise in what I am reporting here, meaning that everything I know came from research. My objective is to try to provide a different kind of guide, one that can hopefully help you follow my steps, while also making clear that this is something that can be done with care and effort by anyone.

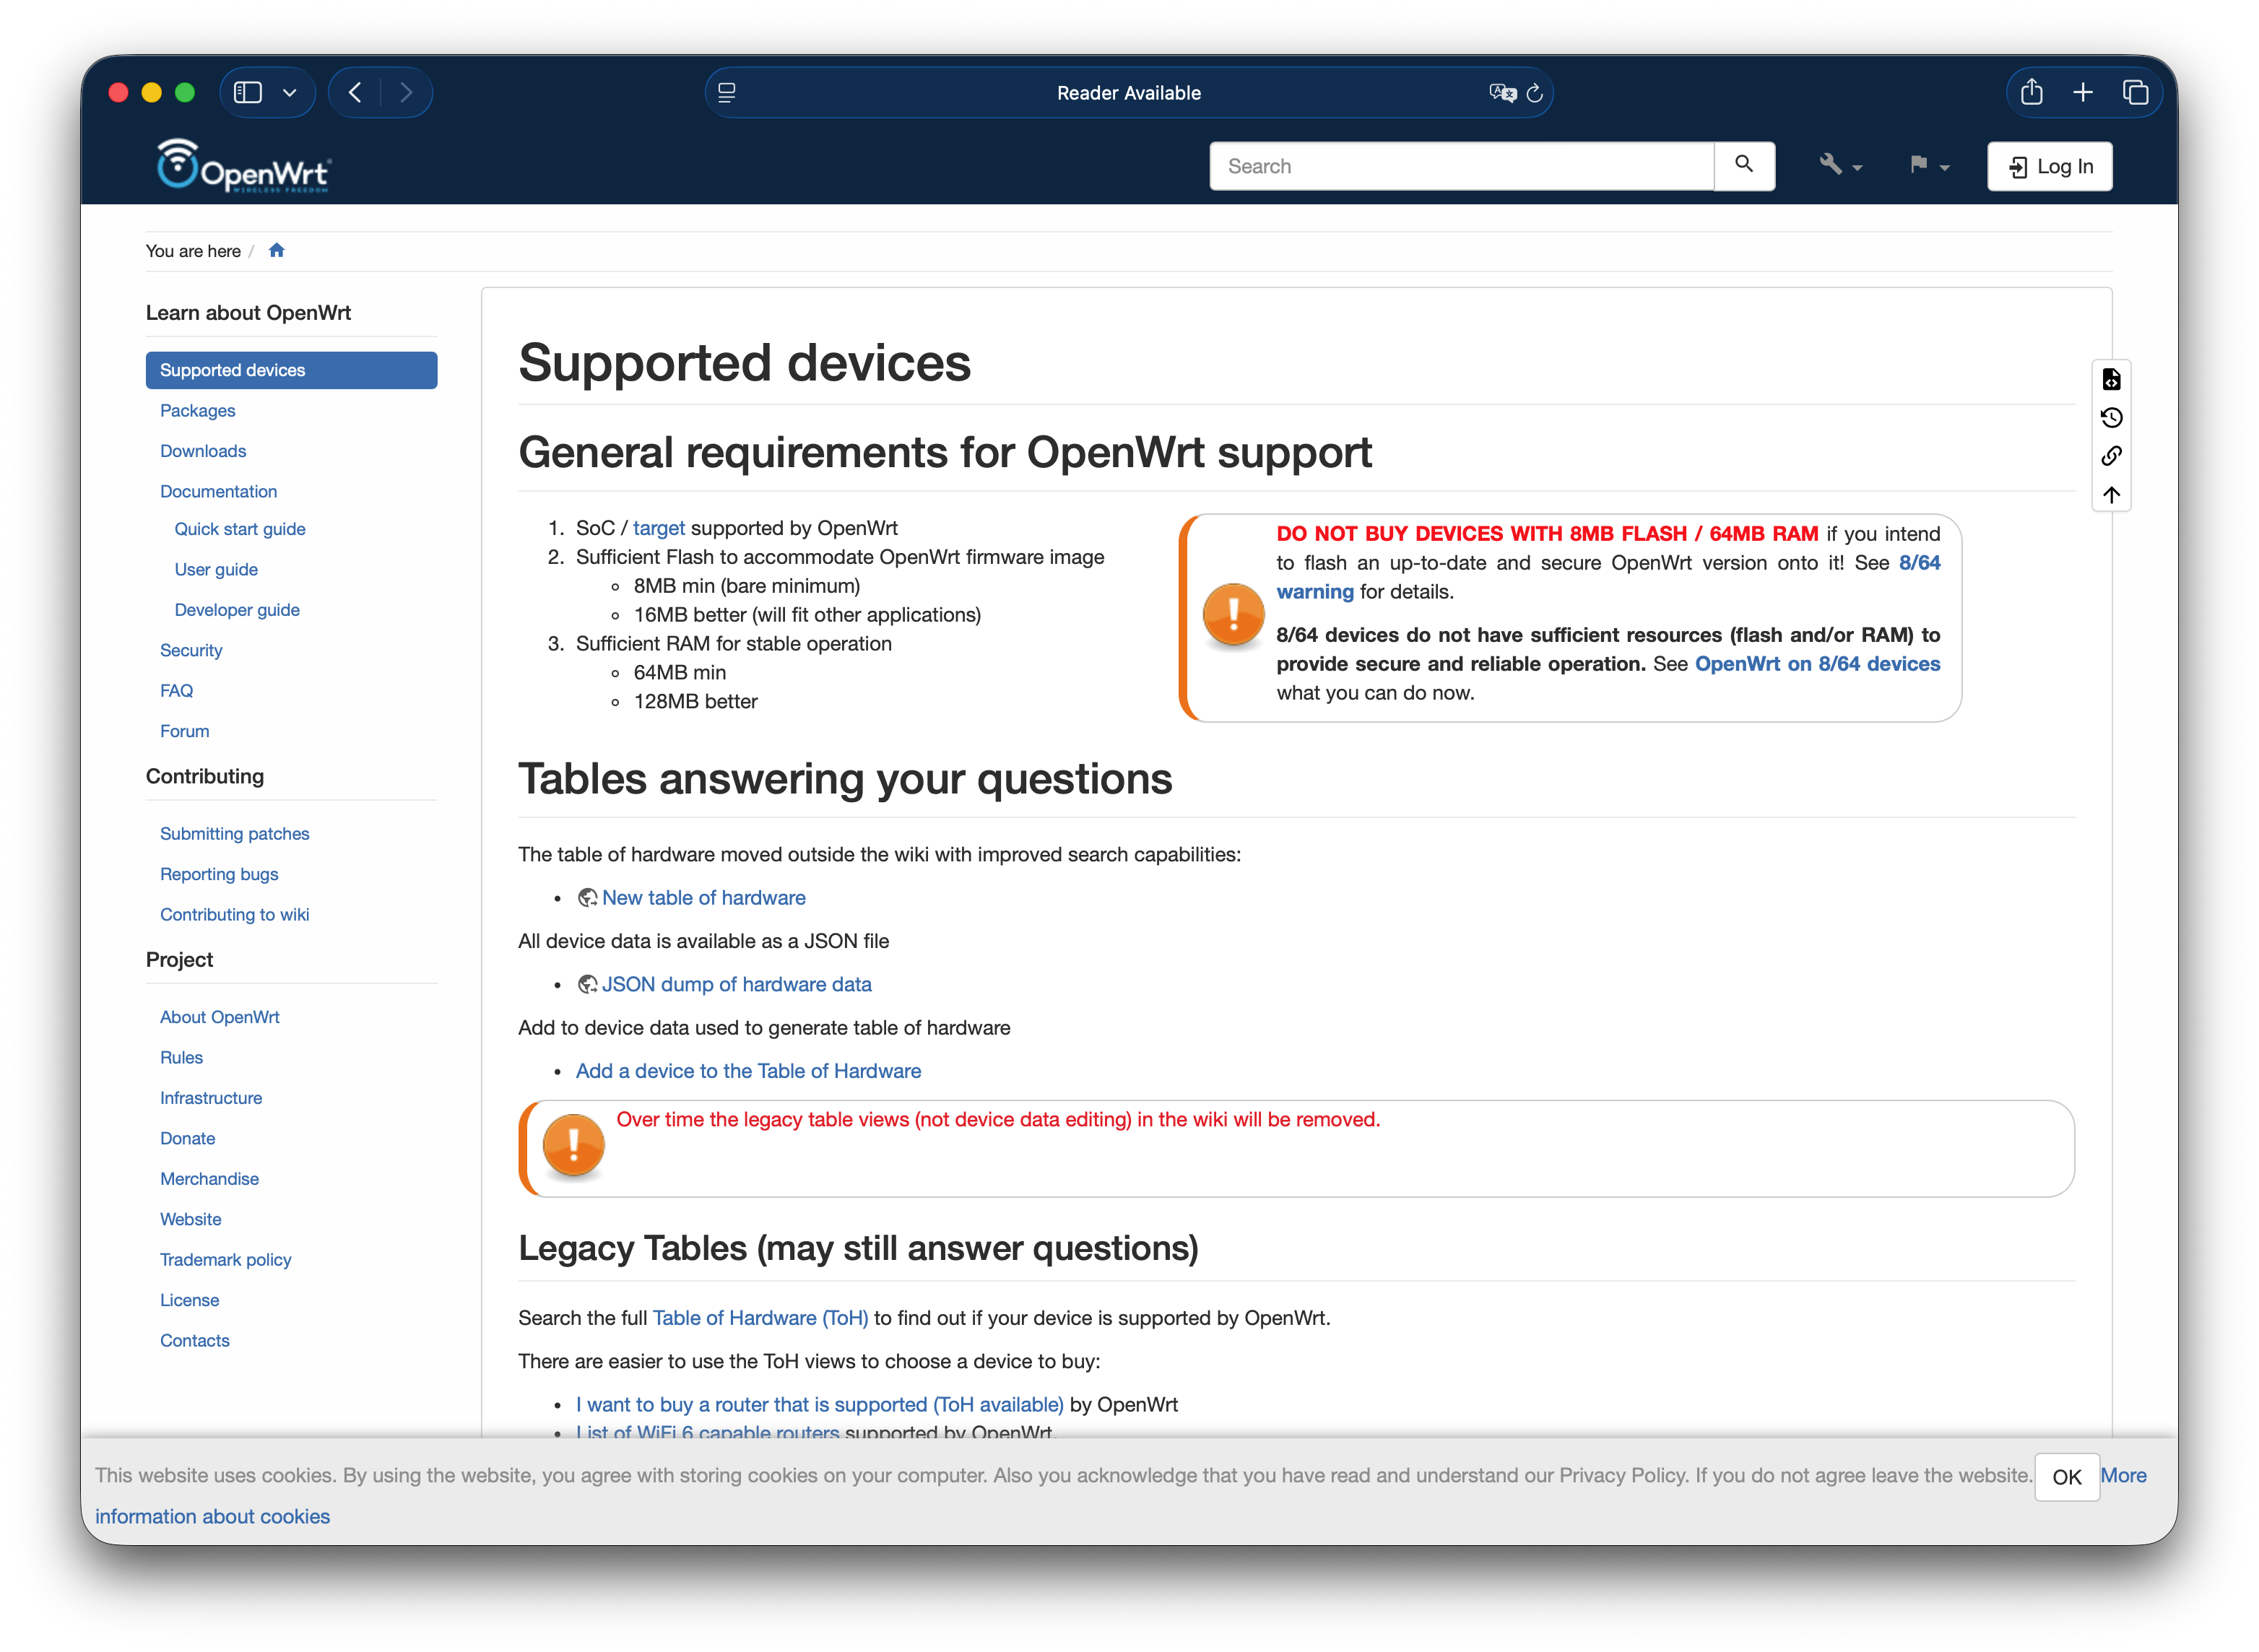
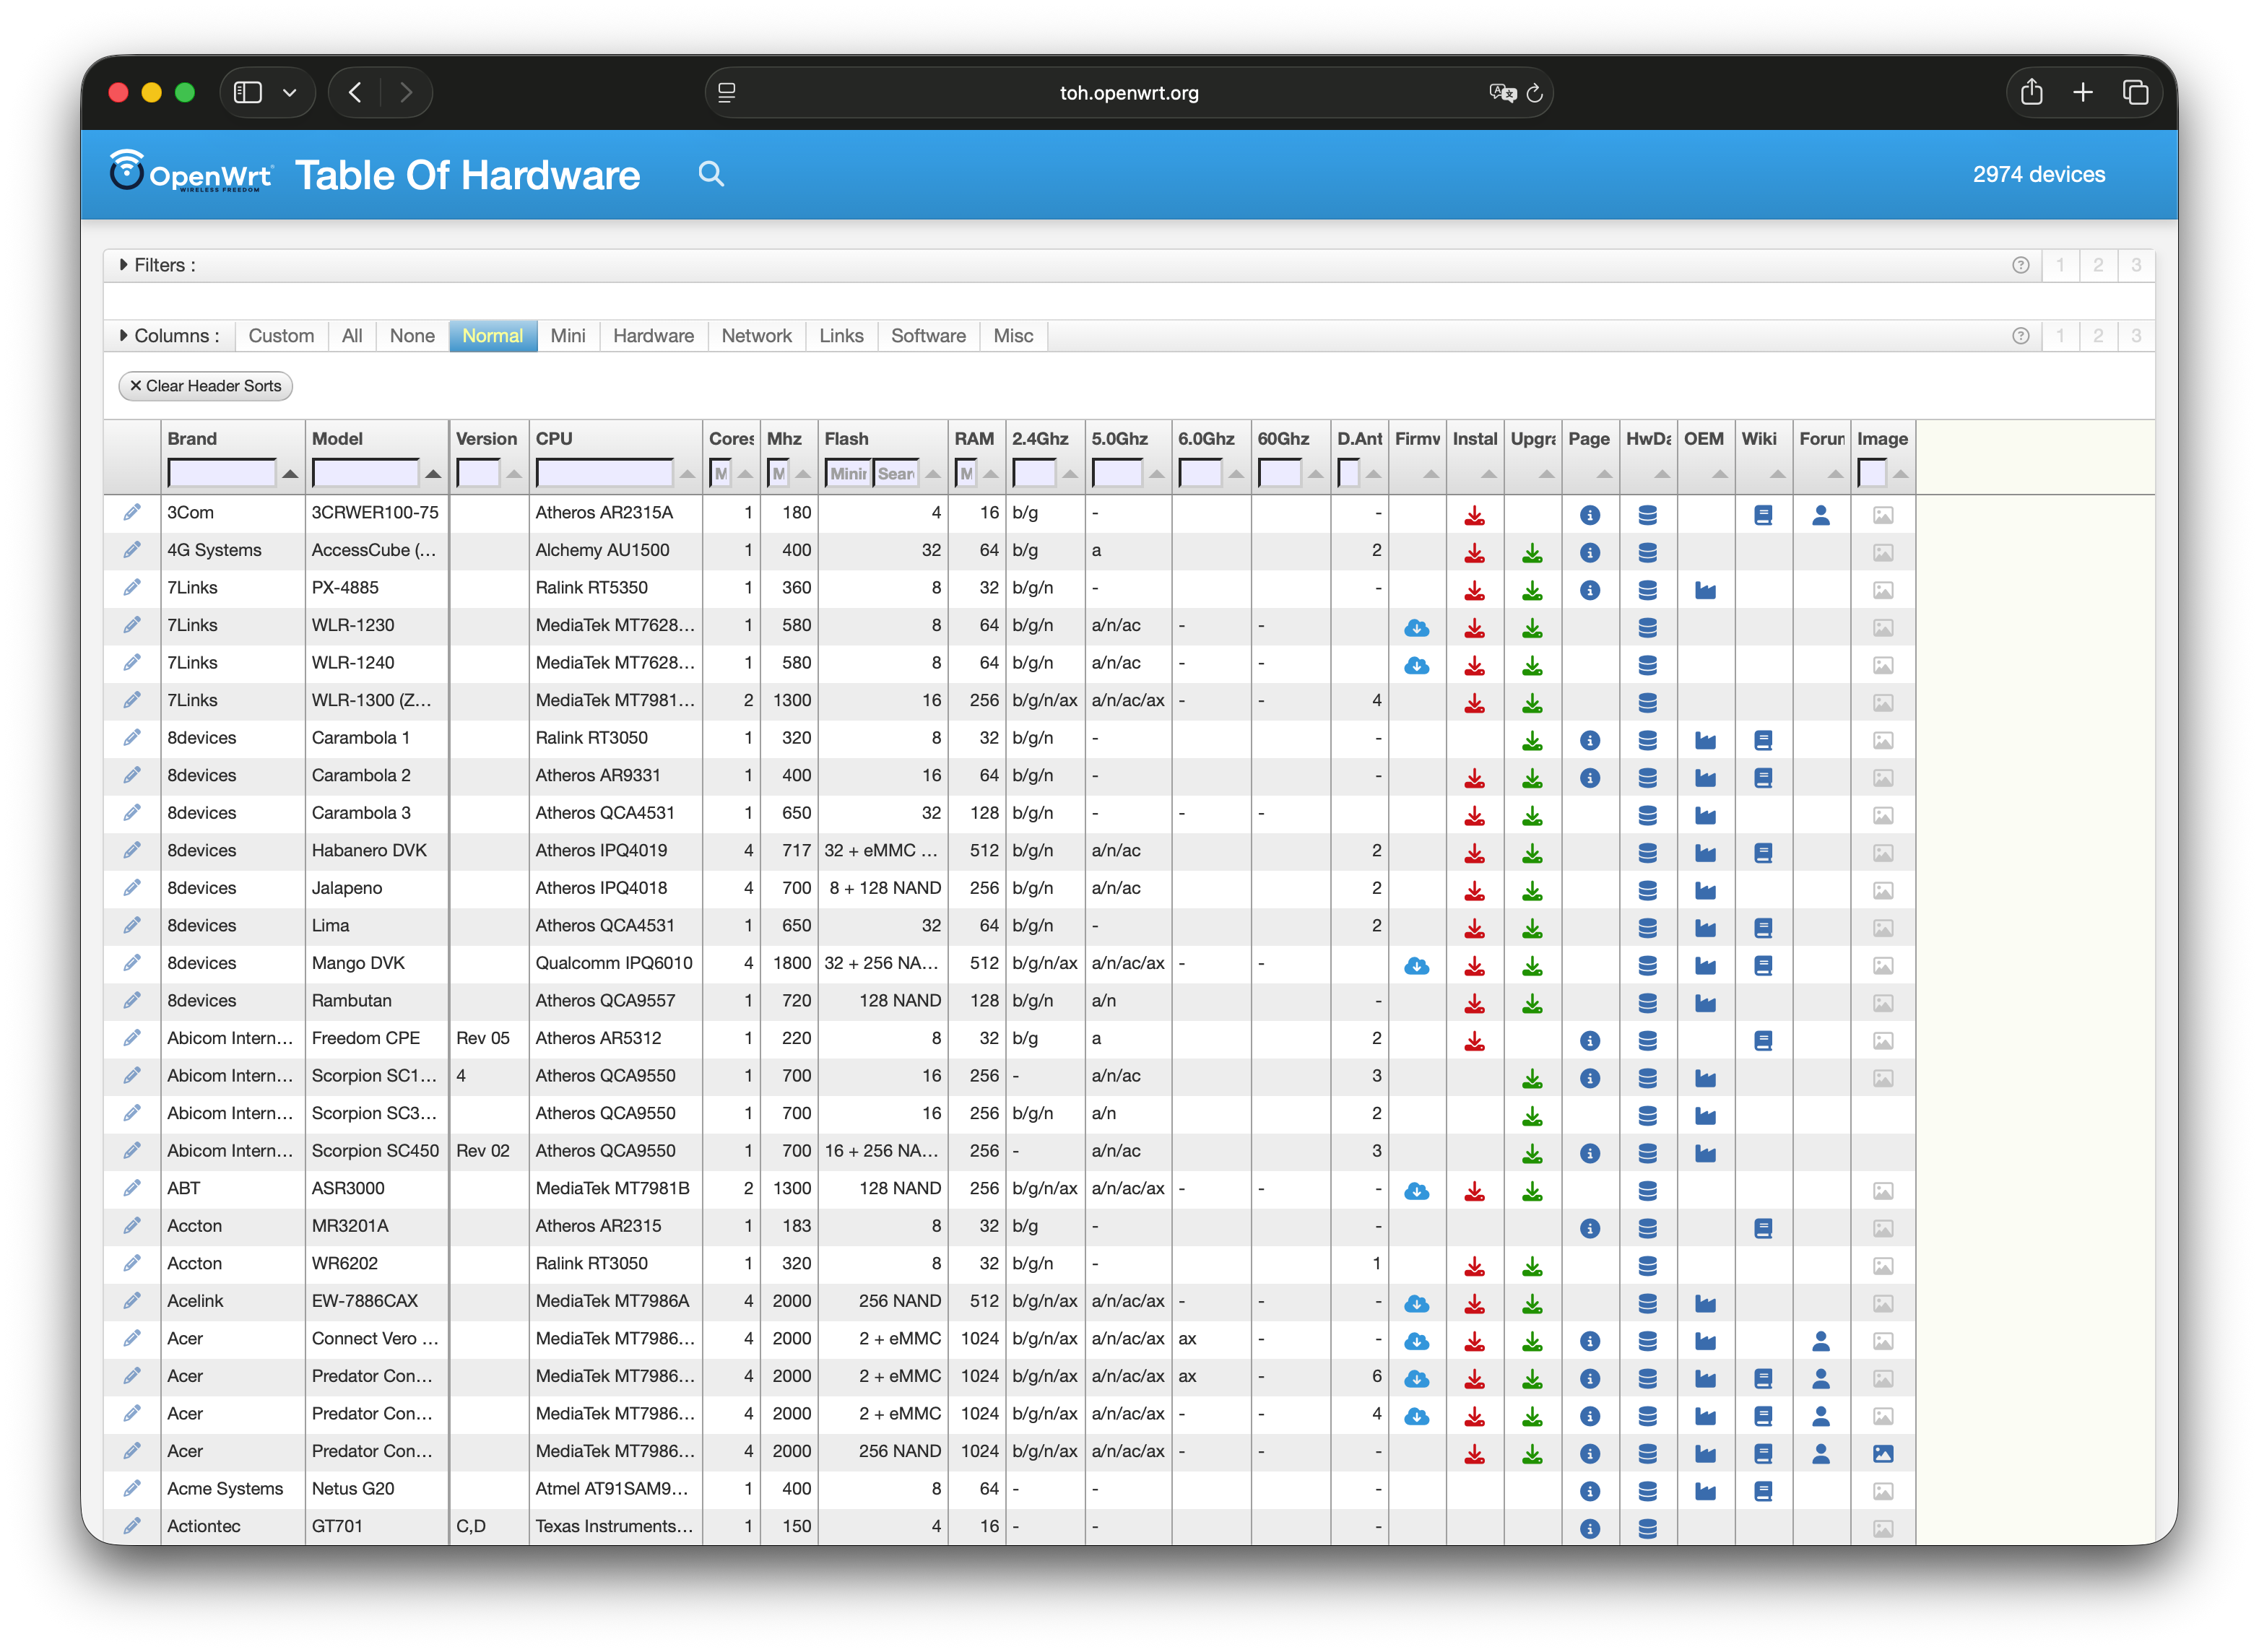
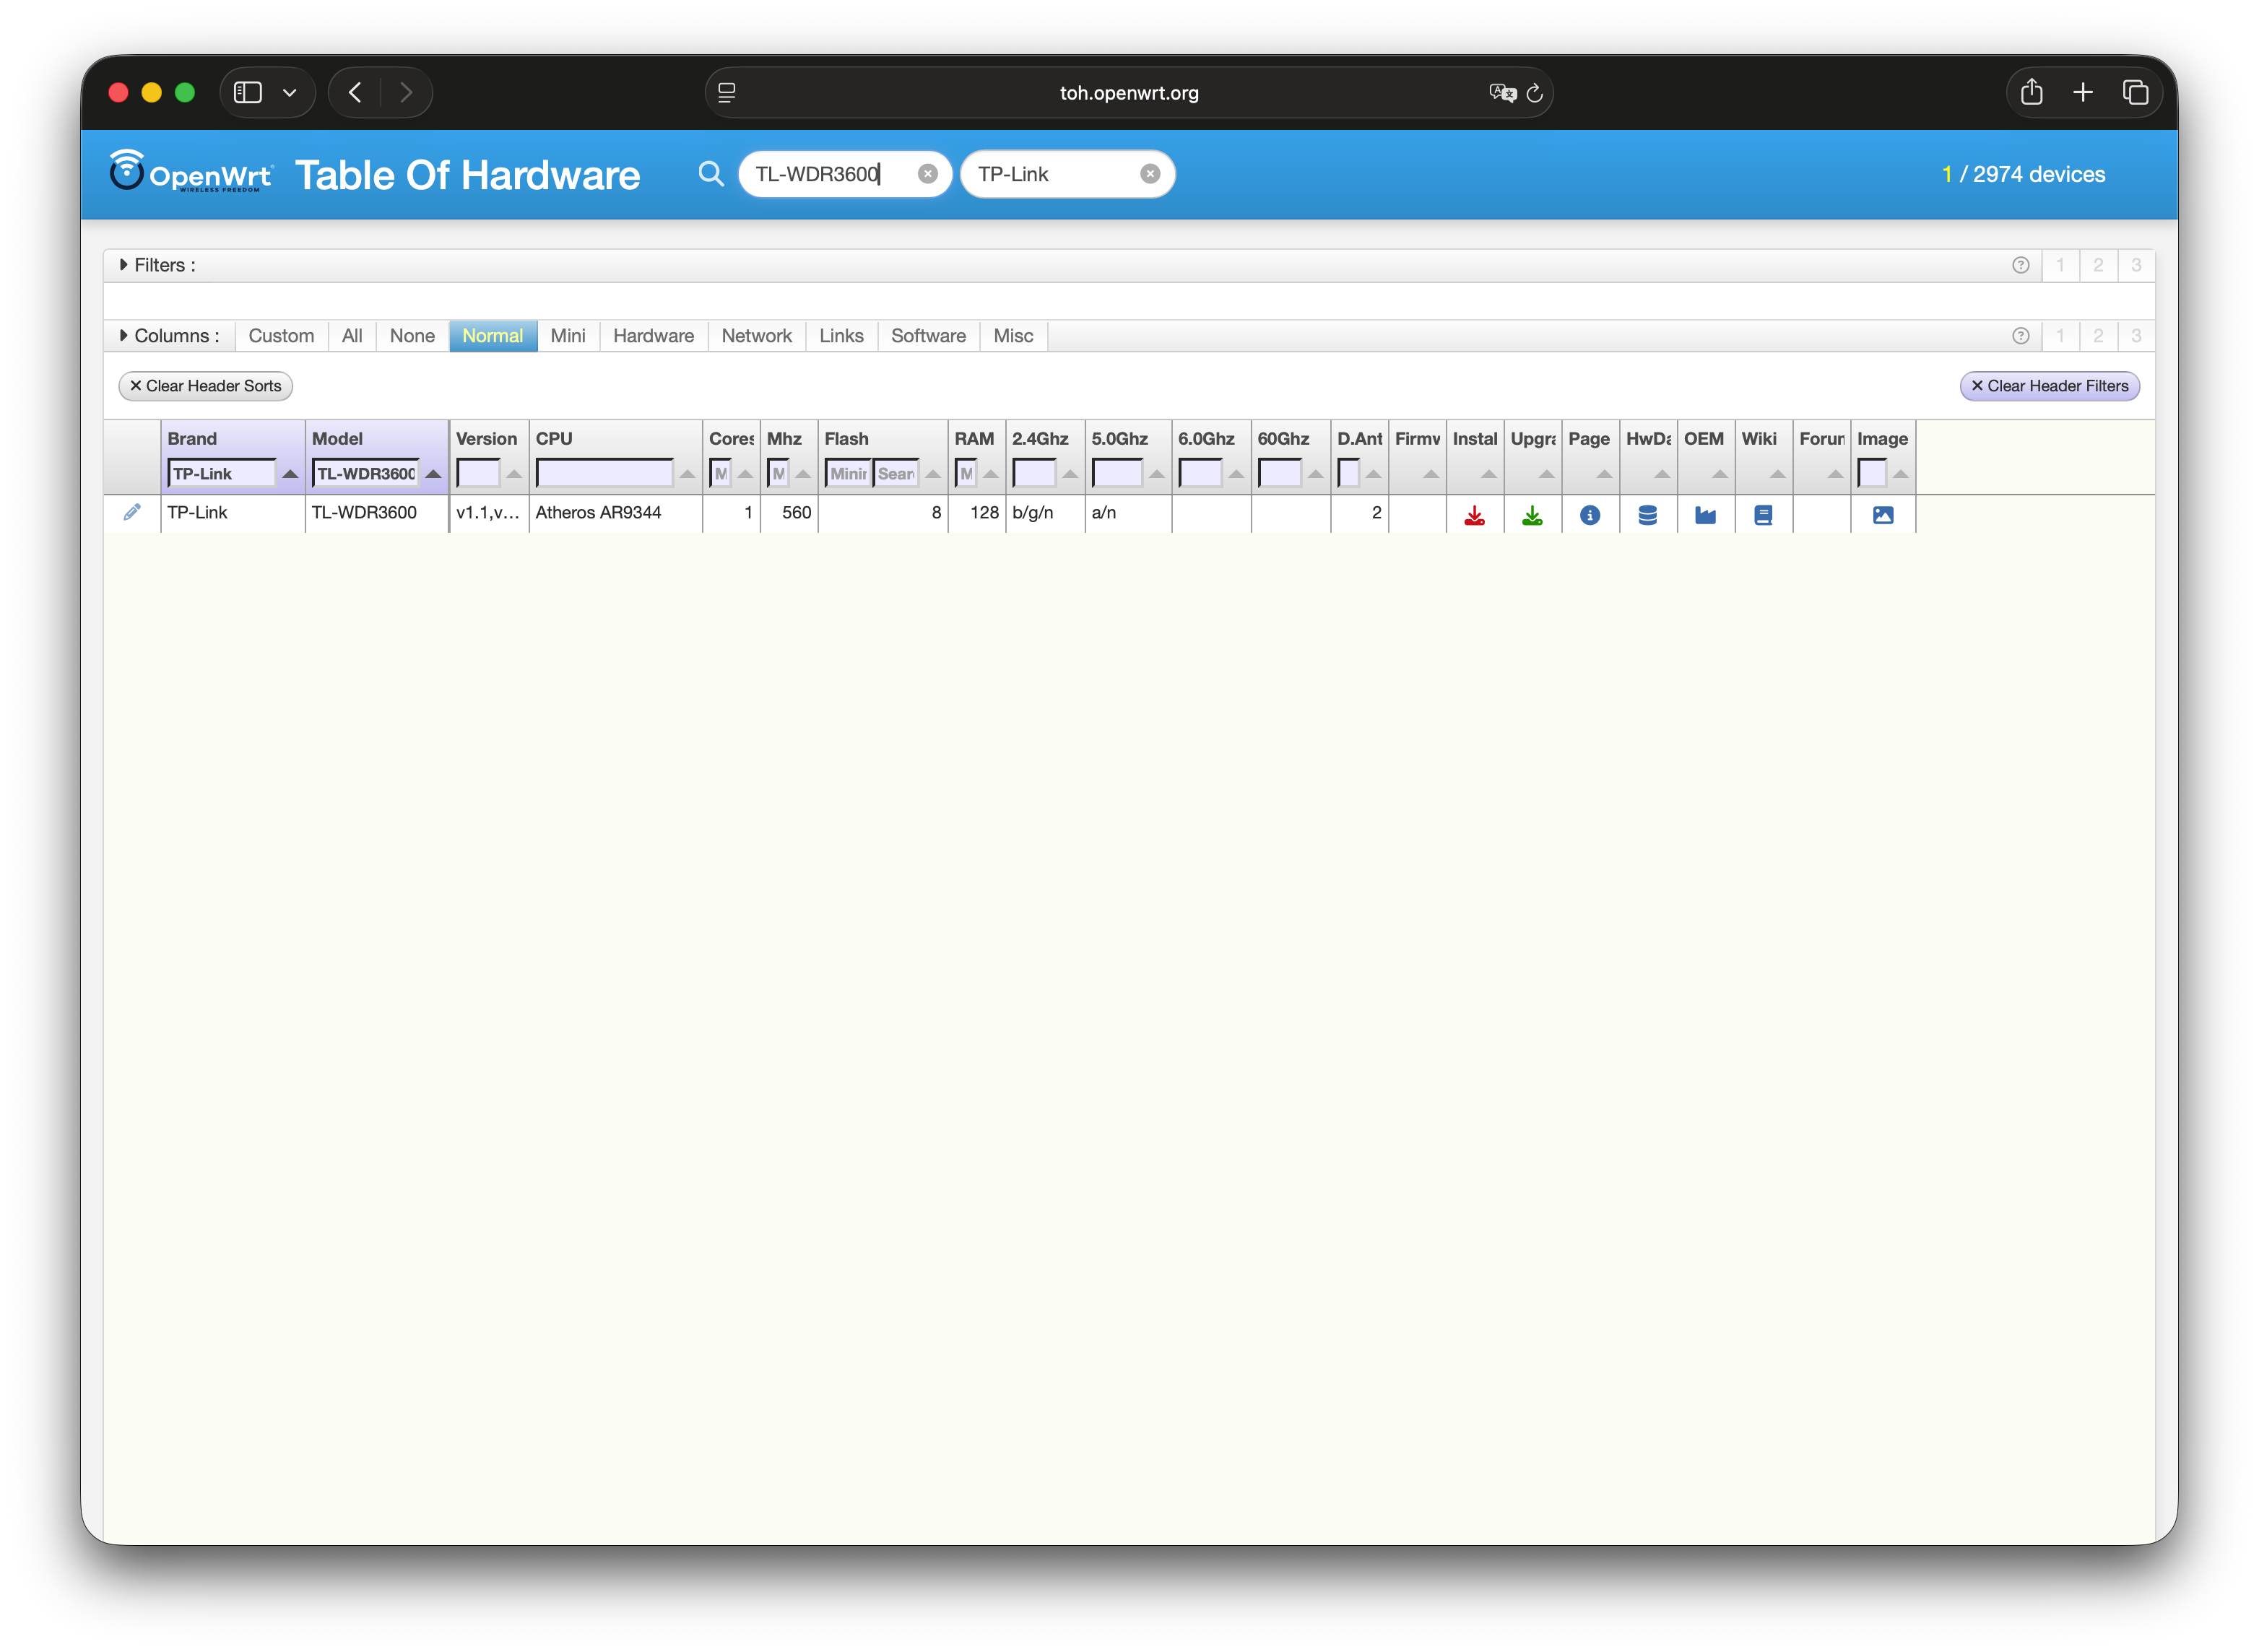
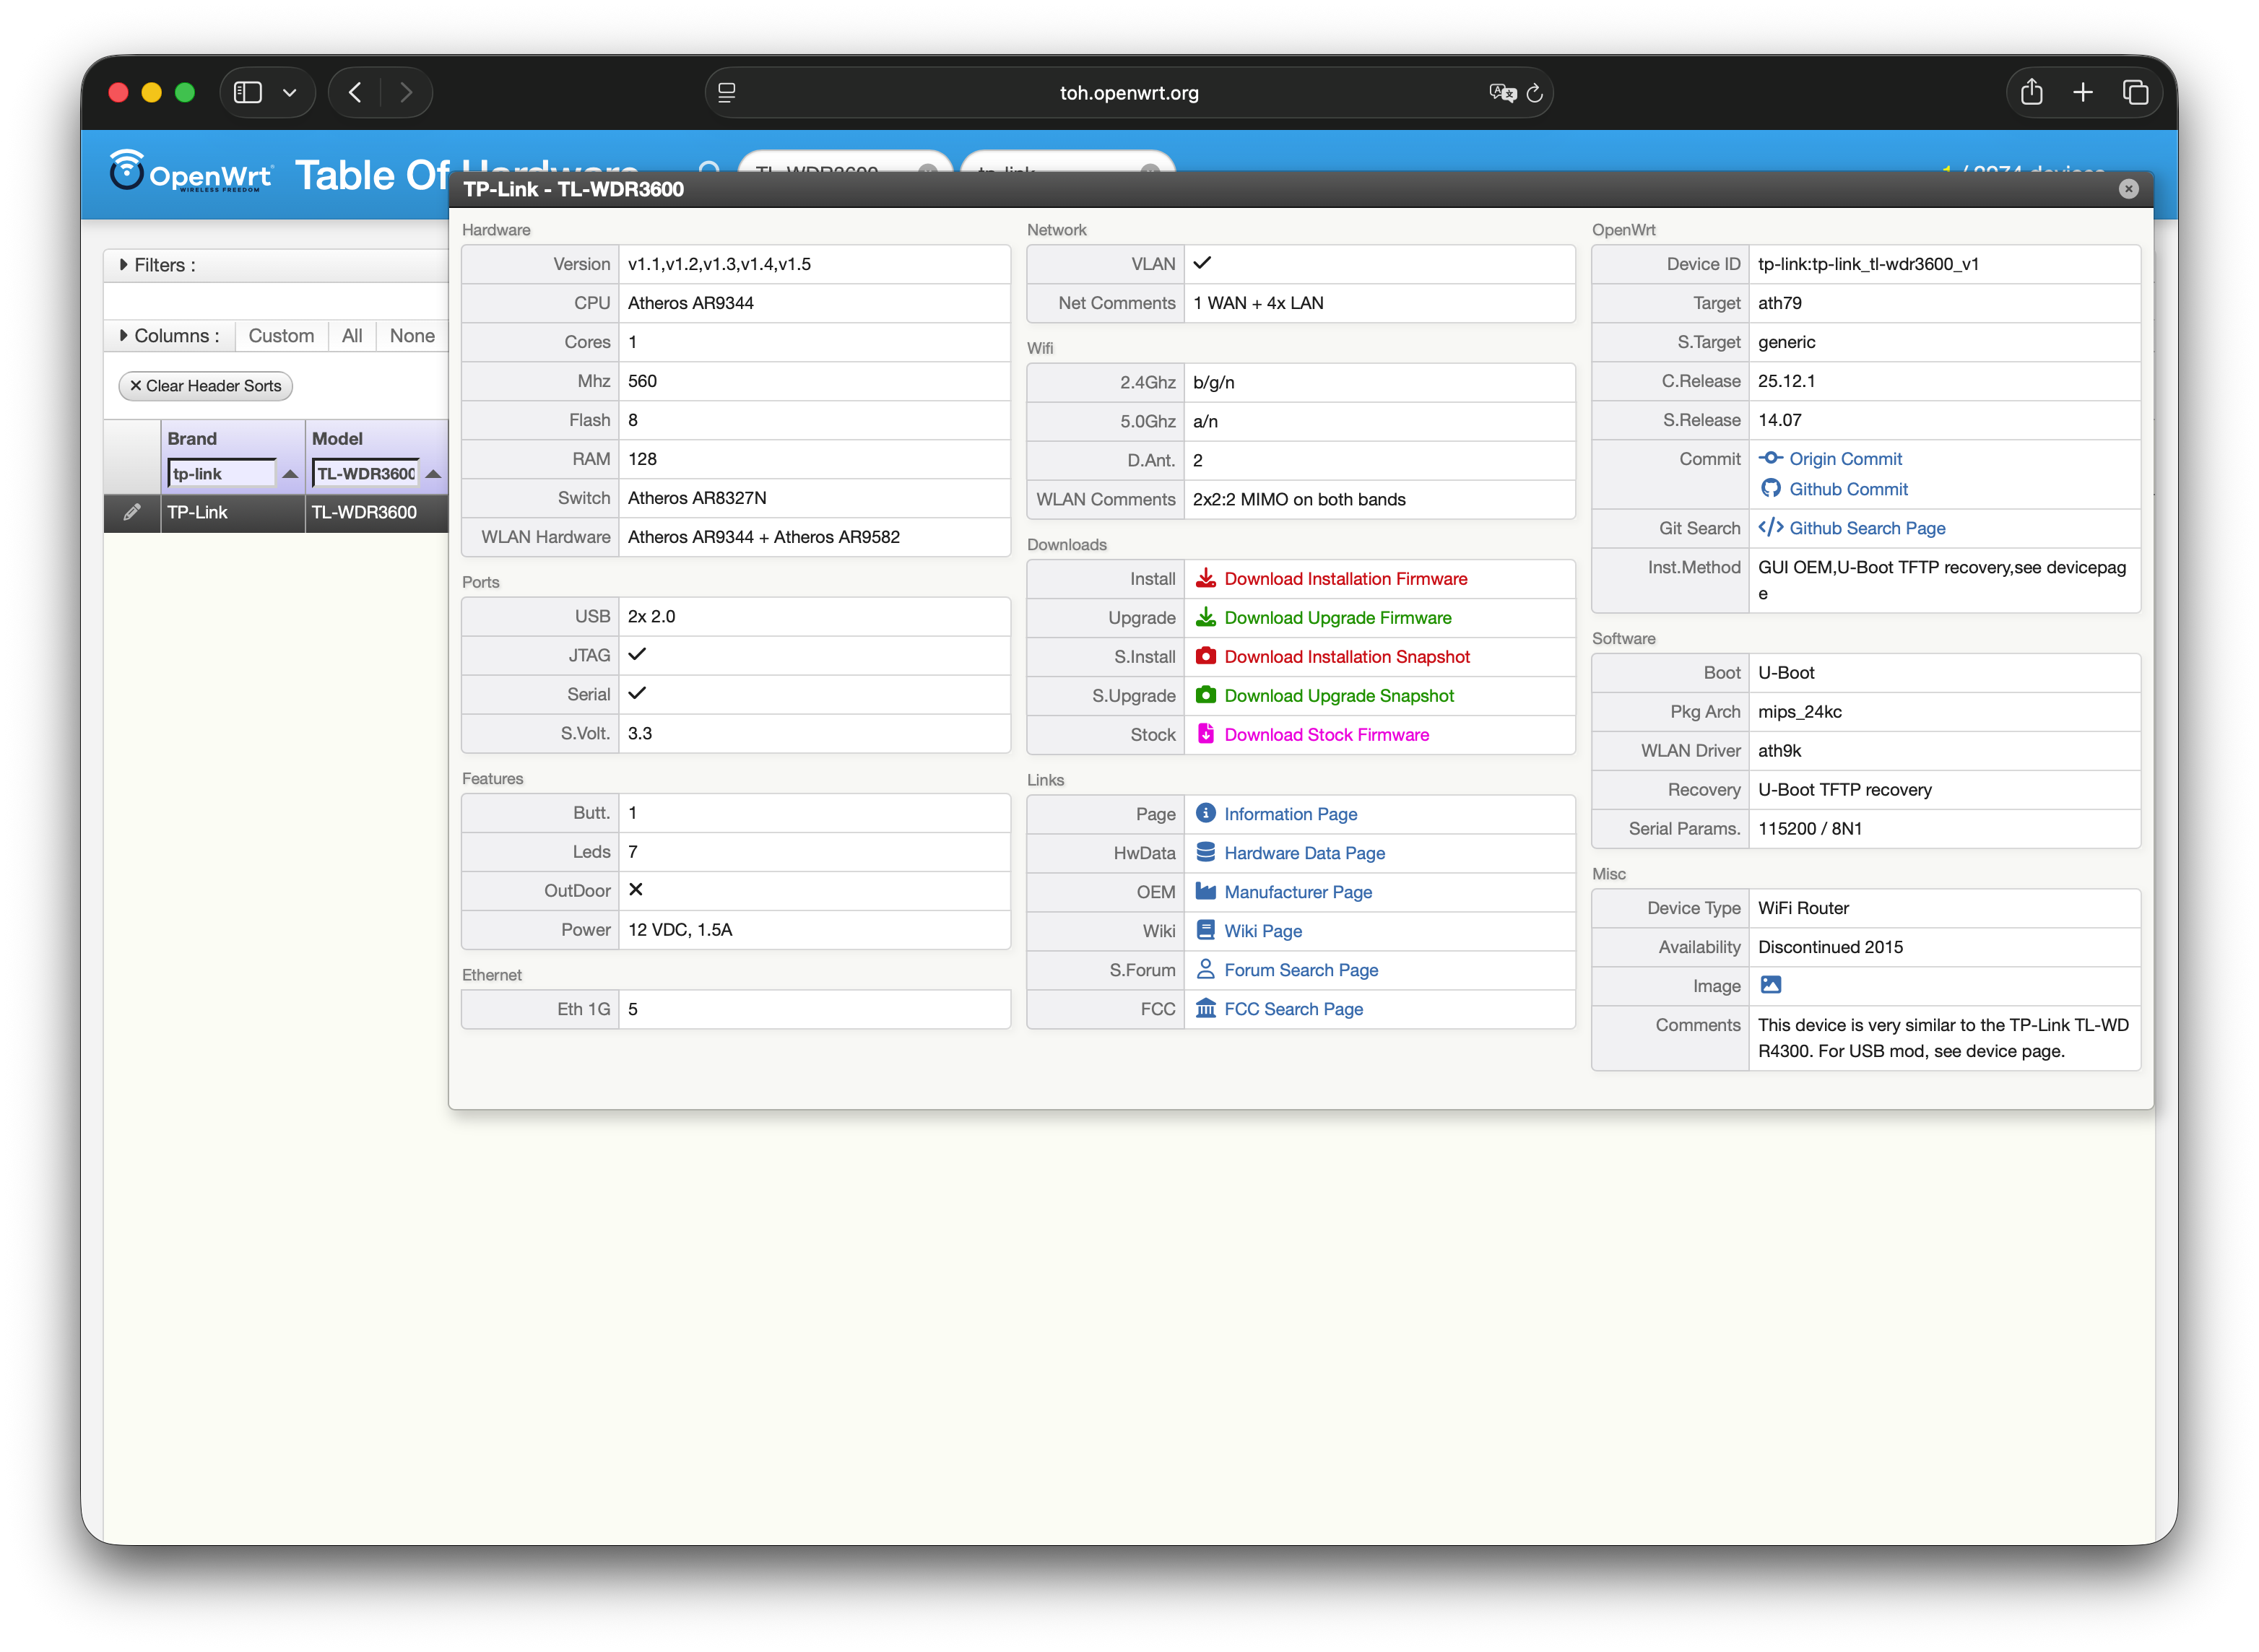
If you want to quickly check whether your device is compatible with OpenWrt, this tool lets you type in your device model and version to find the most suitable firmware for it here. Your device model and version number can usually be found on the box or on a sticker on the device itself. Alternatively, here is the full list of available firmware files the full list of available firmware files, where you can look up your model and download directly.
192.168.1.1 and pressed enter. (This should connect you to the router through the ethernet cable, and a TP-Link login page should appear).
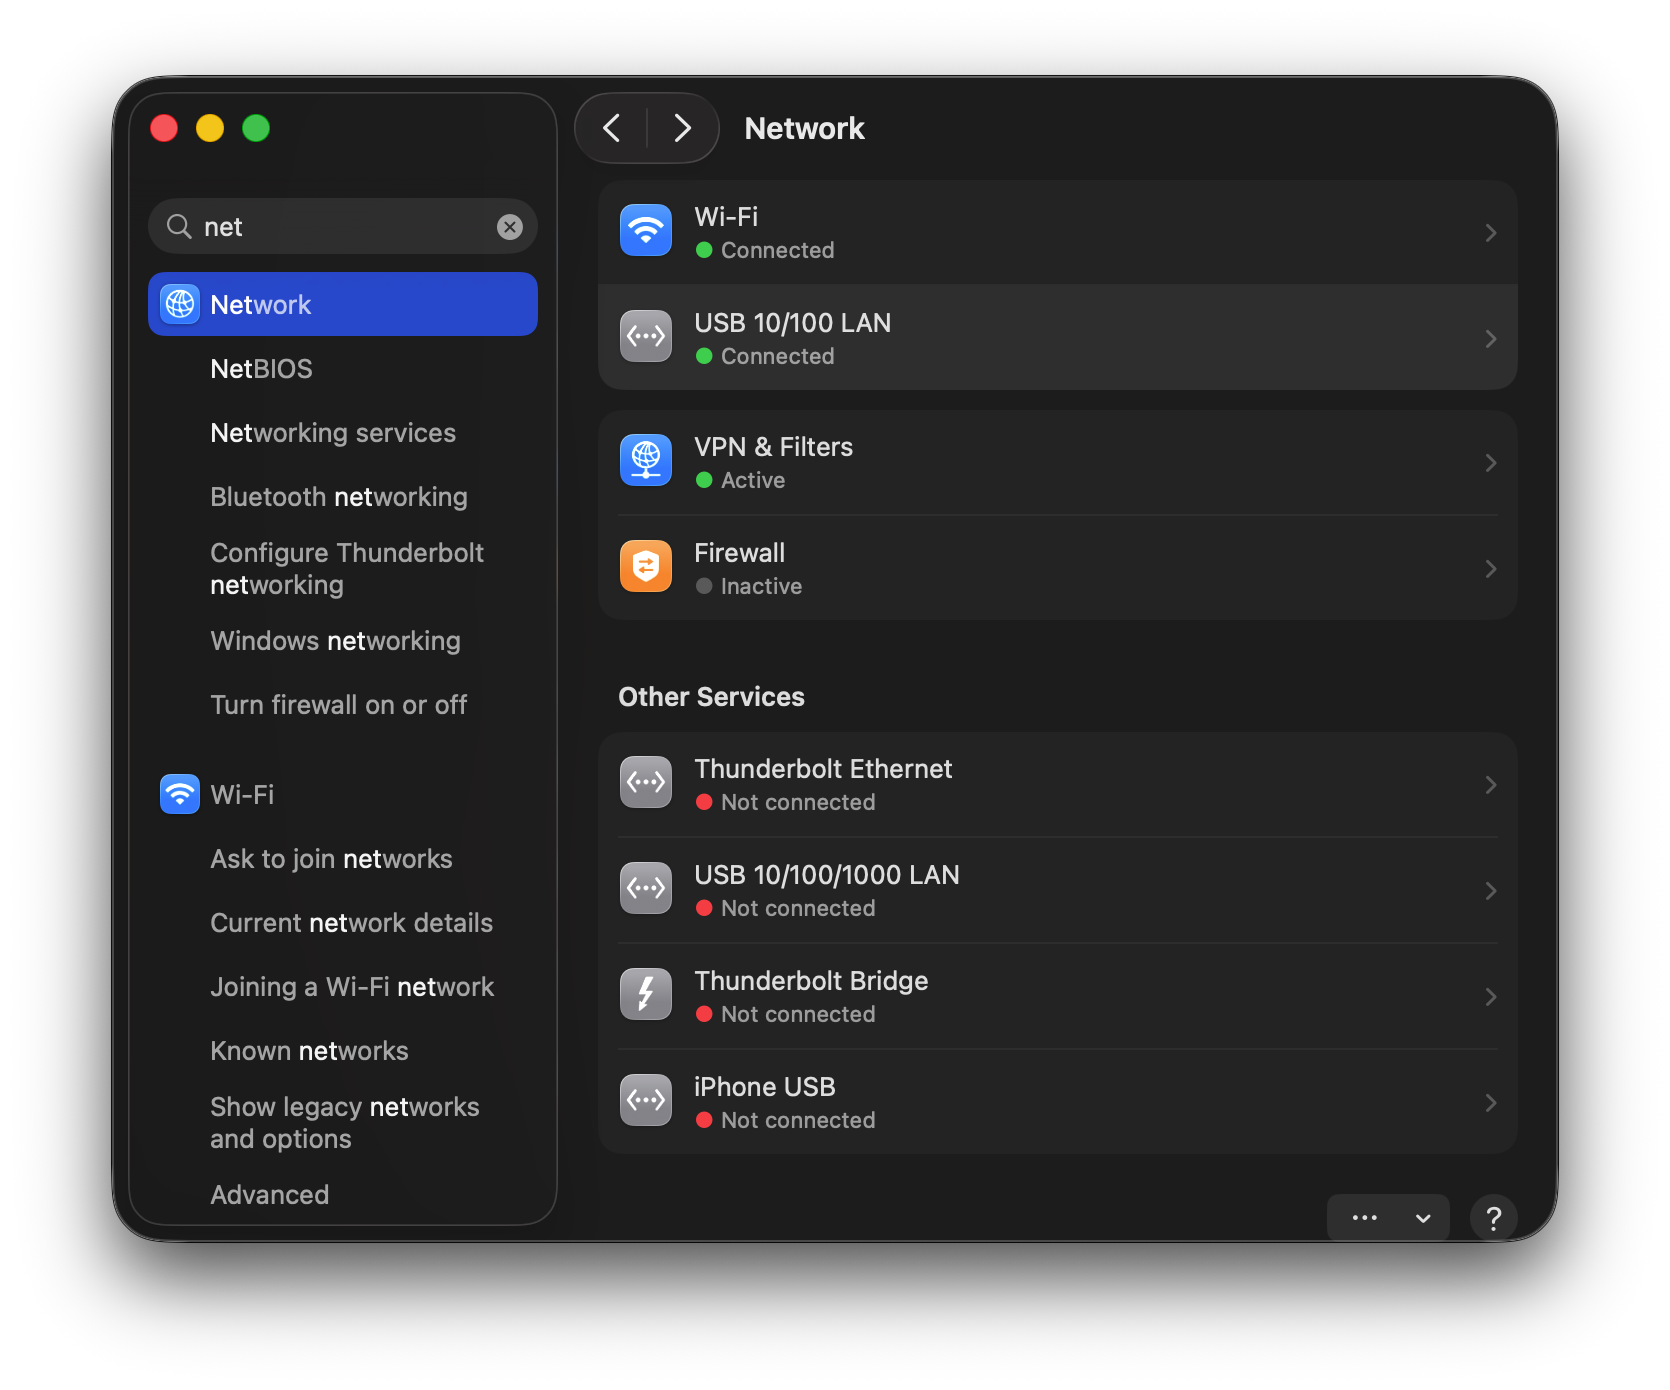
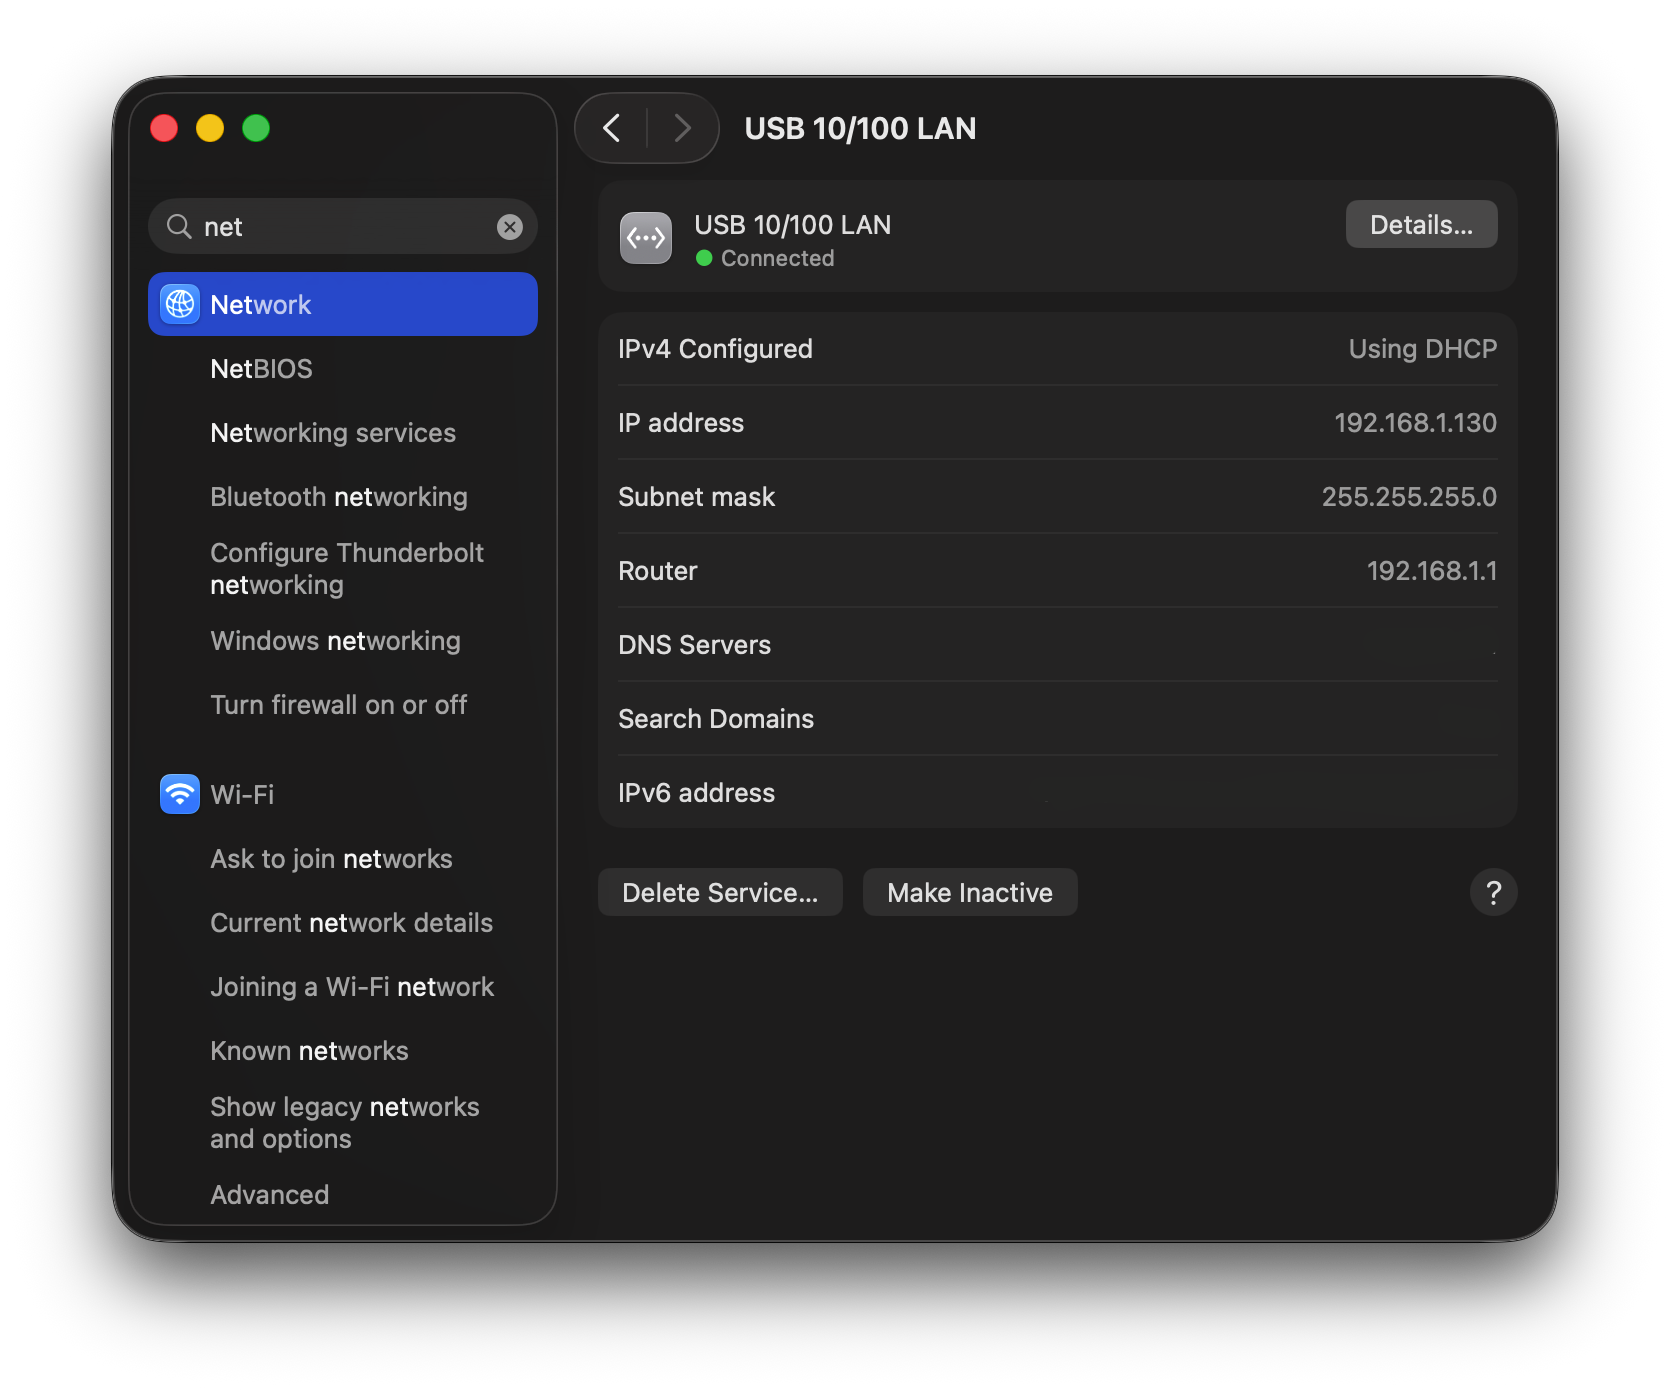
In my case, this did not work on the first try. What I did to fix this issue was: I went to my computer's system settings and navigated to reach the “Network” section, here, looked for USB 10/100 LAN (if the router is connected it should be on the top under the wifi and highlighted with a green dot on its left), and opened the voice “Details…” on its right.
Settings → Network → USB 10/100 LAN (or Ethernet)
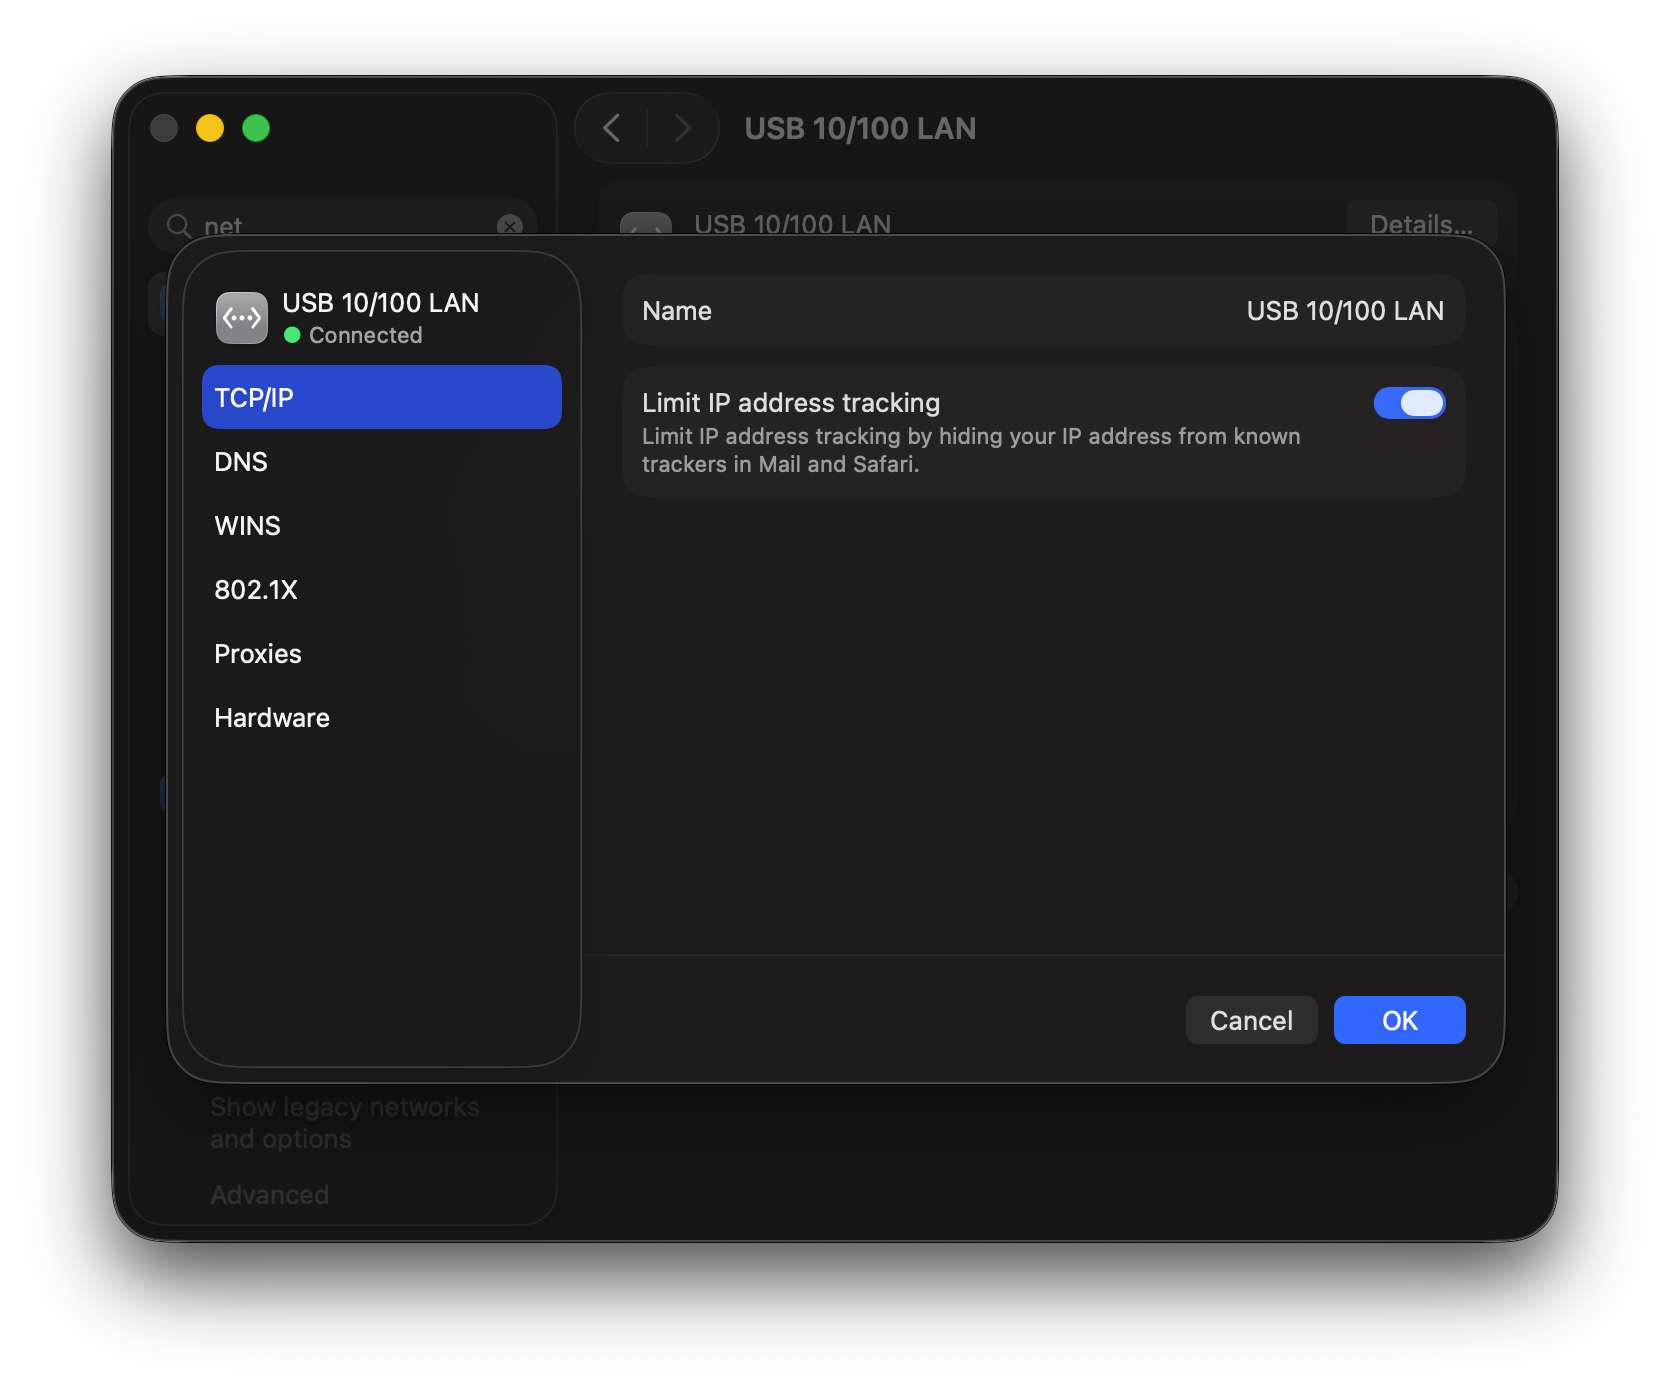
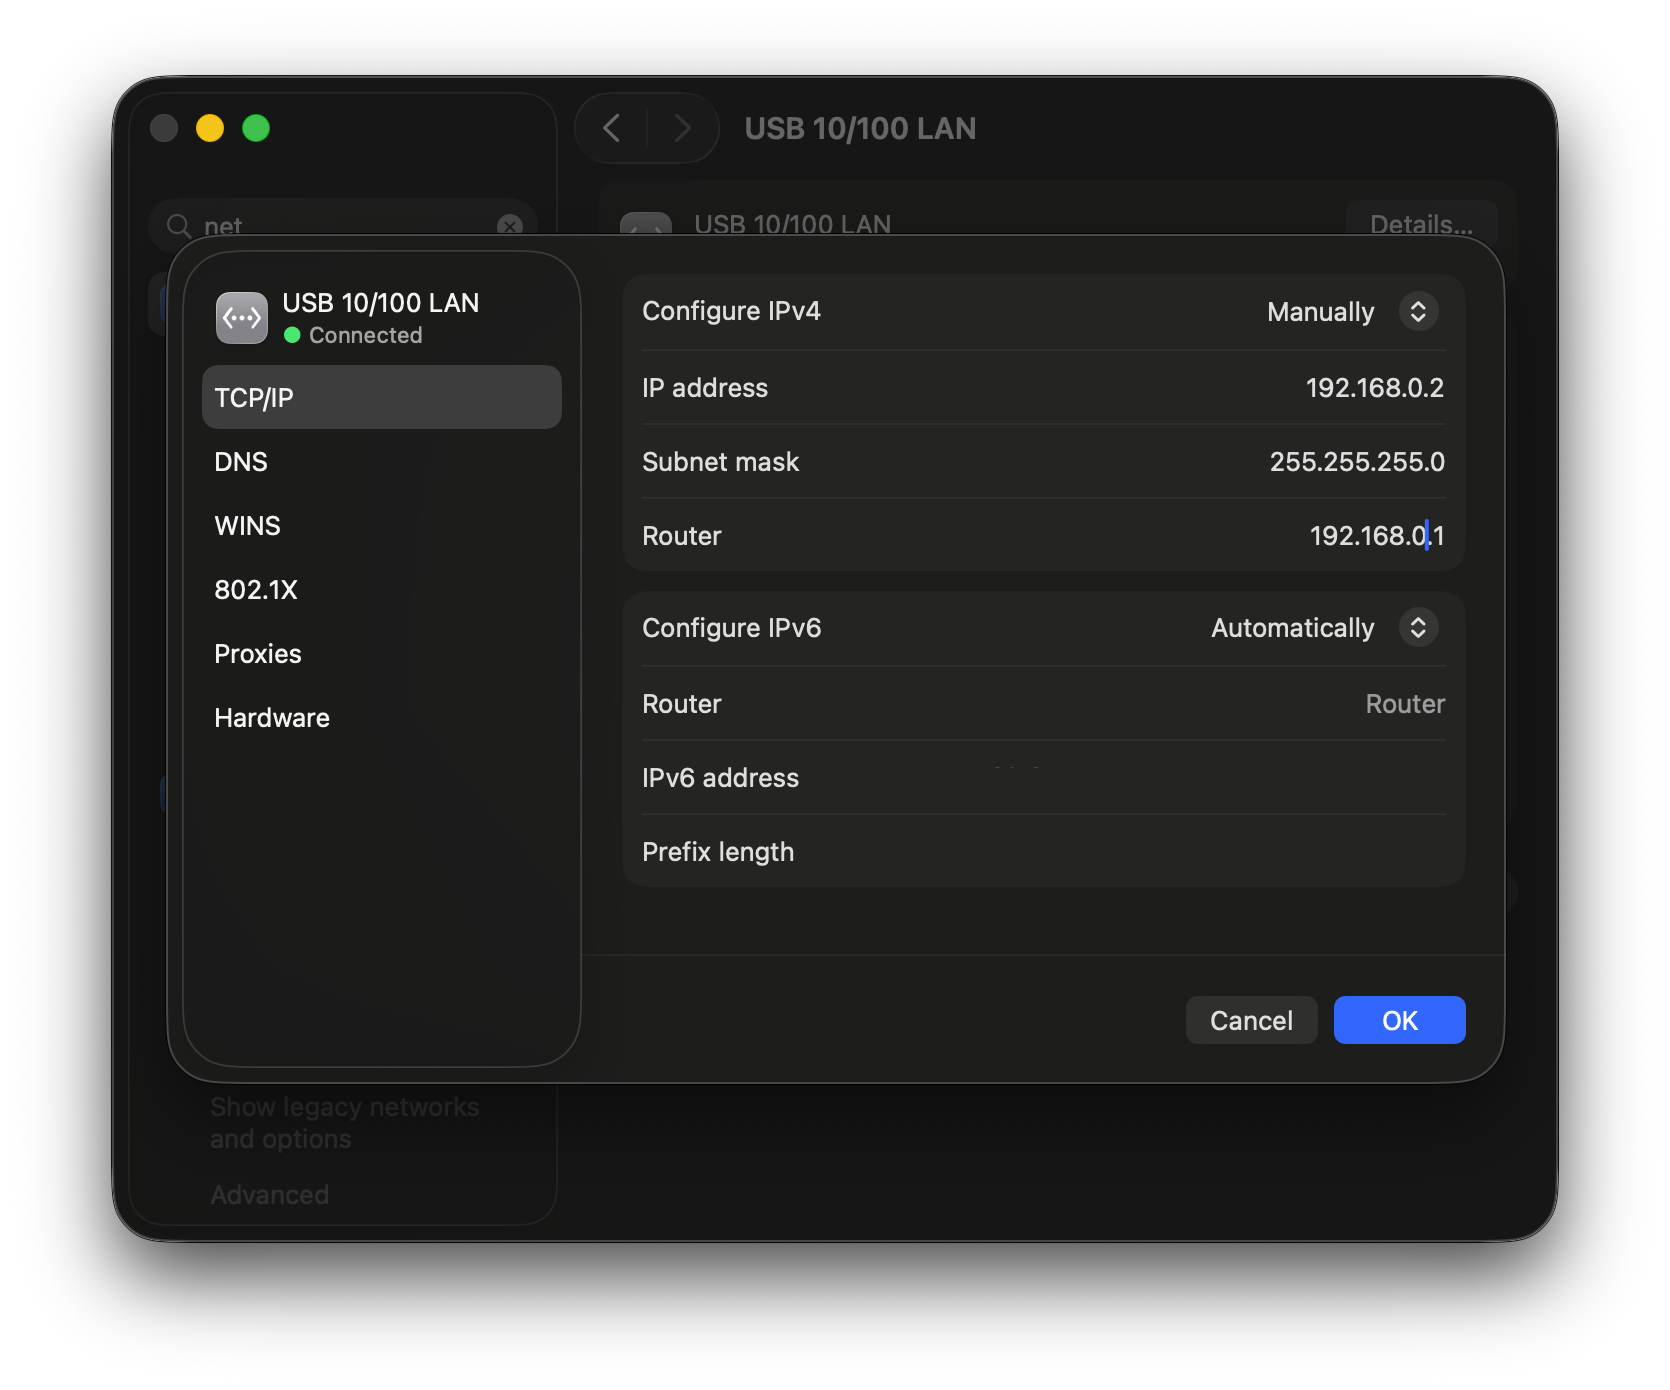
In this pop-up window I went to “TCP/IP”. Here there should be a button with written “Using DHCP by default. If you click it a selection menu should pop up, here I clicked “manually”. Now came the tricky part. I had to manually update three fields in the network settings:
IP Address
192.168.0.2 This is the identity of your Mac on the local network — like a house number. You're manually telling your Mac "your address is .0.2" instead of letting the router assign one automatically (DHCP).
Subnet Mask
255.255.255.0 This defines the "neighbourhood" — which devices can talk to each other directly. 255.255.255.0 means all devices starting with 192.168.0. are in the same neighbourhood and can communicate.
Router
192.168.0.1 This tells your Mac where the "exit" of the network is — the device that forwards traffic to the internet. You're pointing it to the TP-Link's address.
Then I clicked “ok” on the bottom right of the window. Once I entered these values, my computer was able to communicate with the router.
192.168.0.1 into Safari on my Mac.
A login page appeared. If the router is new, you may be able to get in simply by pressing Enter without typing anything. Otherwise, try typing admin in the username field and password in the password field.
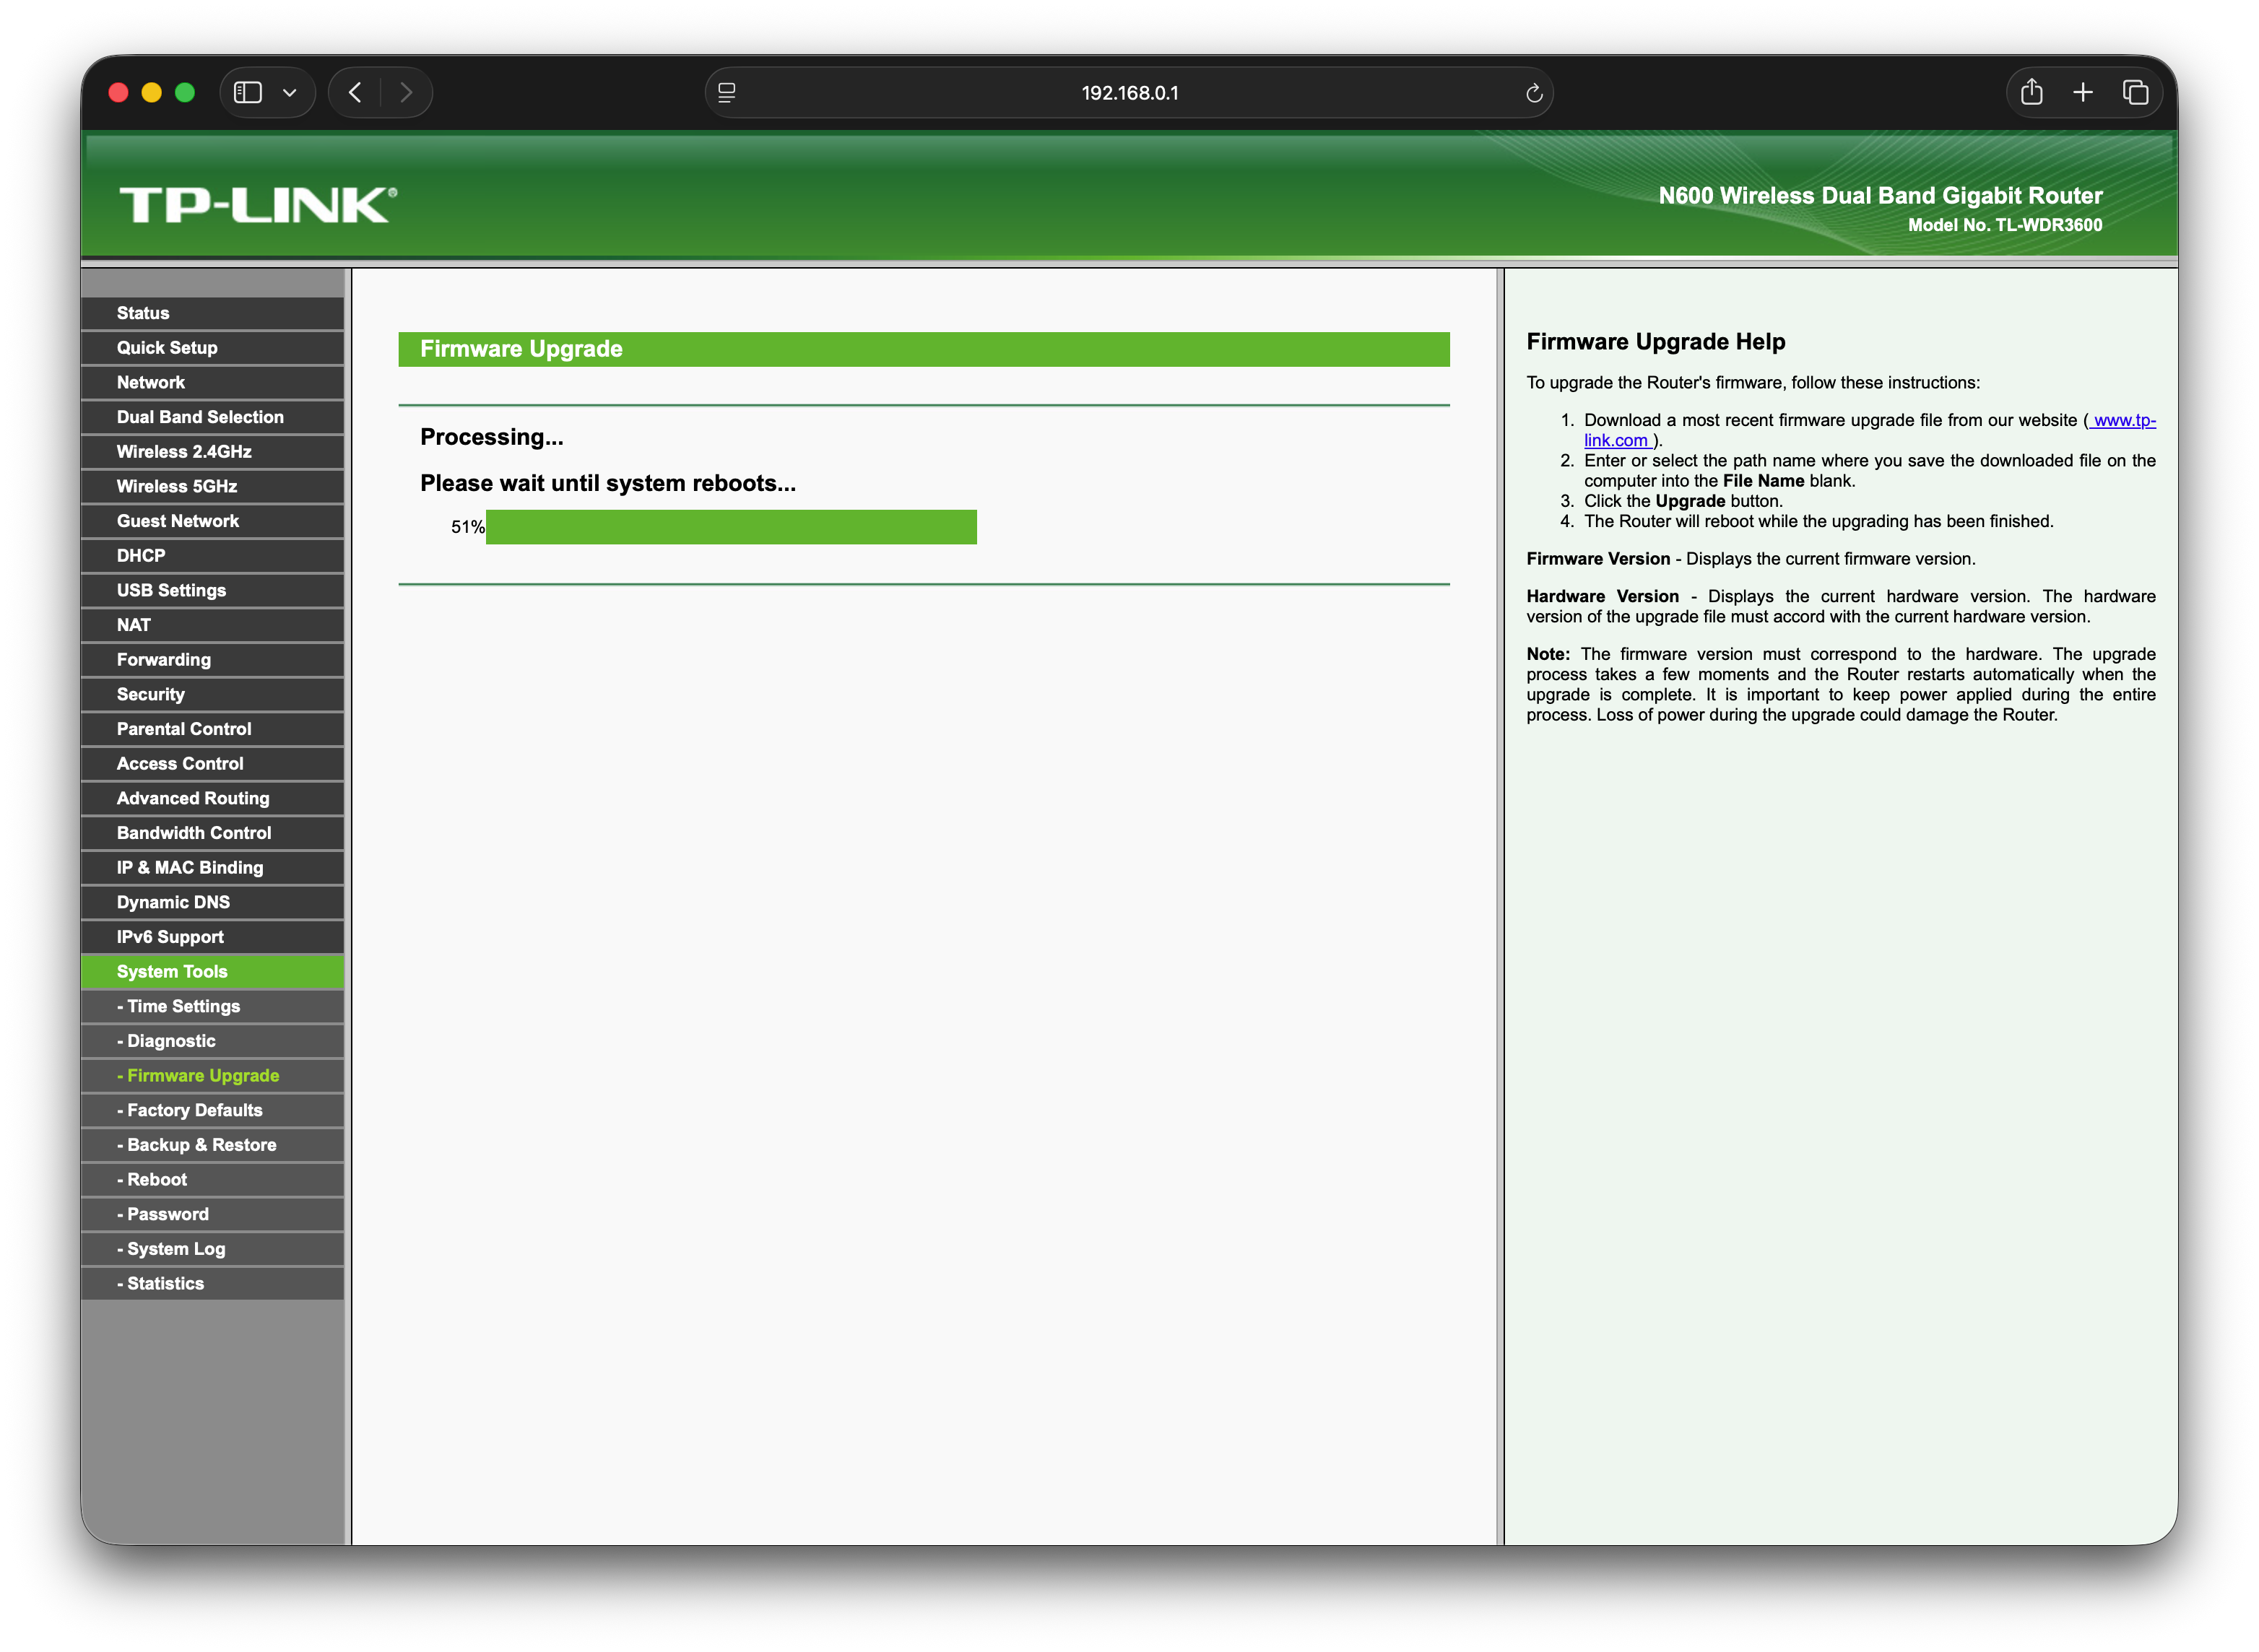
System Tools → Firmware Upgrade
This section was originally designed to let users install newer official versions of TP-Link's own firmware. However, we can use the same Choose File button to upload the OpenWrt factory image we downloaded earlier, effectively replacing the manufacturer's software with our own. Once I selected the file and clicked Upgrade, the router began the installation. The file you need to select is the one downloaded from the OpenWrt website. In my case it was called:
openwrt-25.12.1-ath79-generic-tplink_tl-wdr3600-v1-squashfs-factory.bin.
However, when I first tried to upload it through the Choose File window, I received an error message. The fix turned out to be very simple: the filename was too long for the router to accept. I found this solution on the OpenWrt device page, which recommended renaming the file to something shorter before uploading. I renamed it to
factory.bin and the upload worked without any issues.
I then waited a couple of minutes while a progress bar filled during the installation. In these moments I’ve been very careful not to unplug the router or close the browser while it was working. At a certain point, the connection dropped entirely, which was briefly alarming. After checking the guide again, I found out this was completely normal: once OpenWrt is installed, the router switches to a different default address.

System Settings → Network → USB 10/100 LAN (or Ethernet)
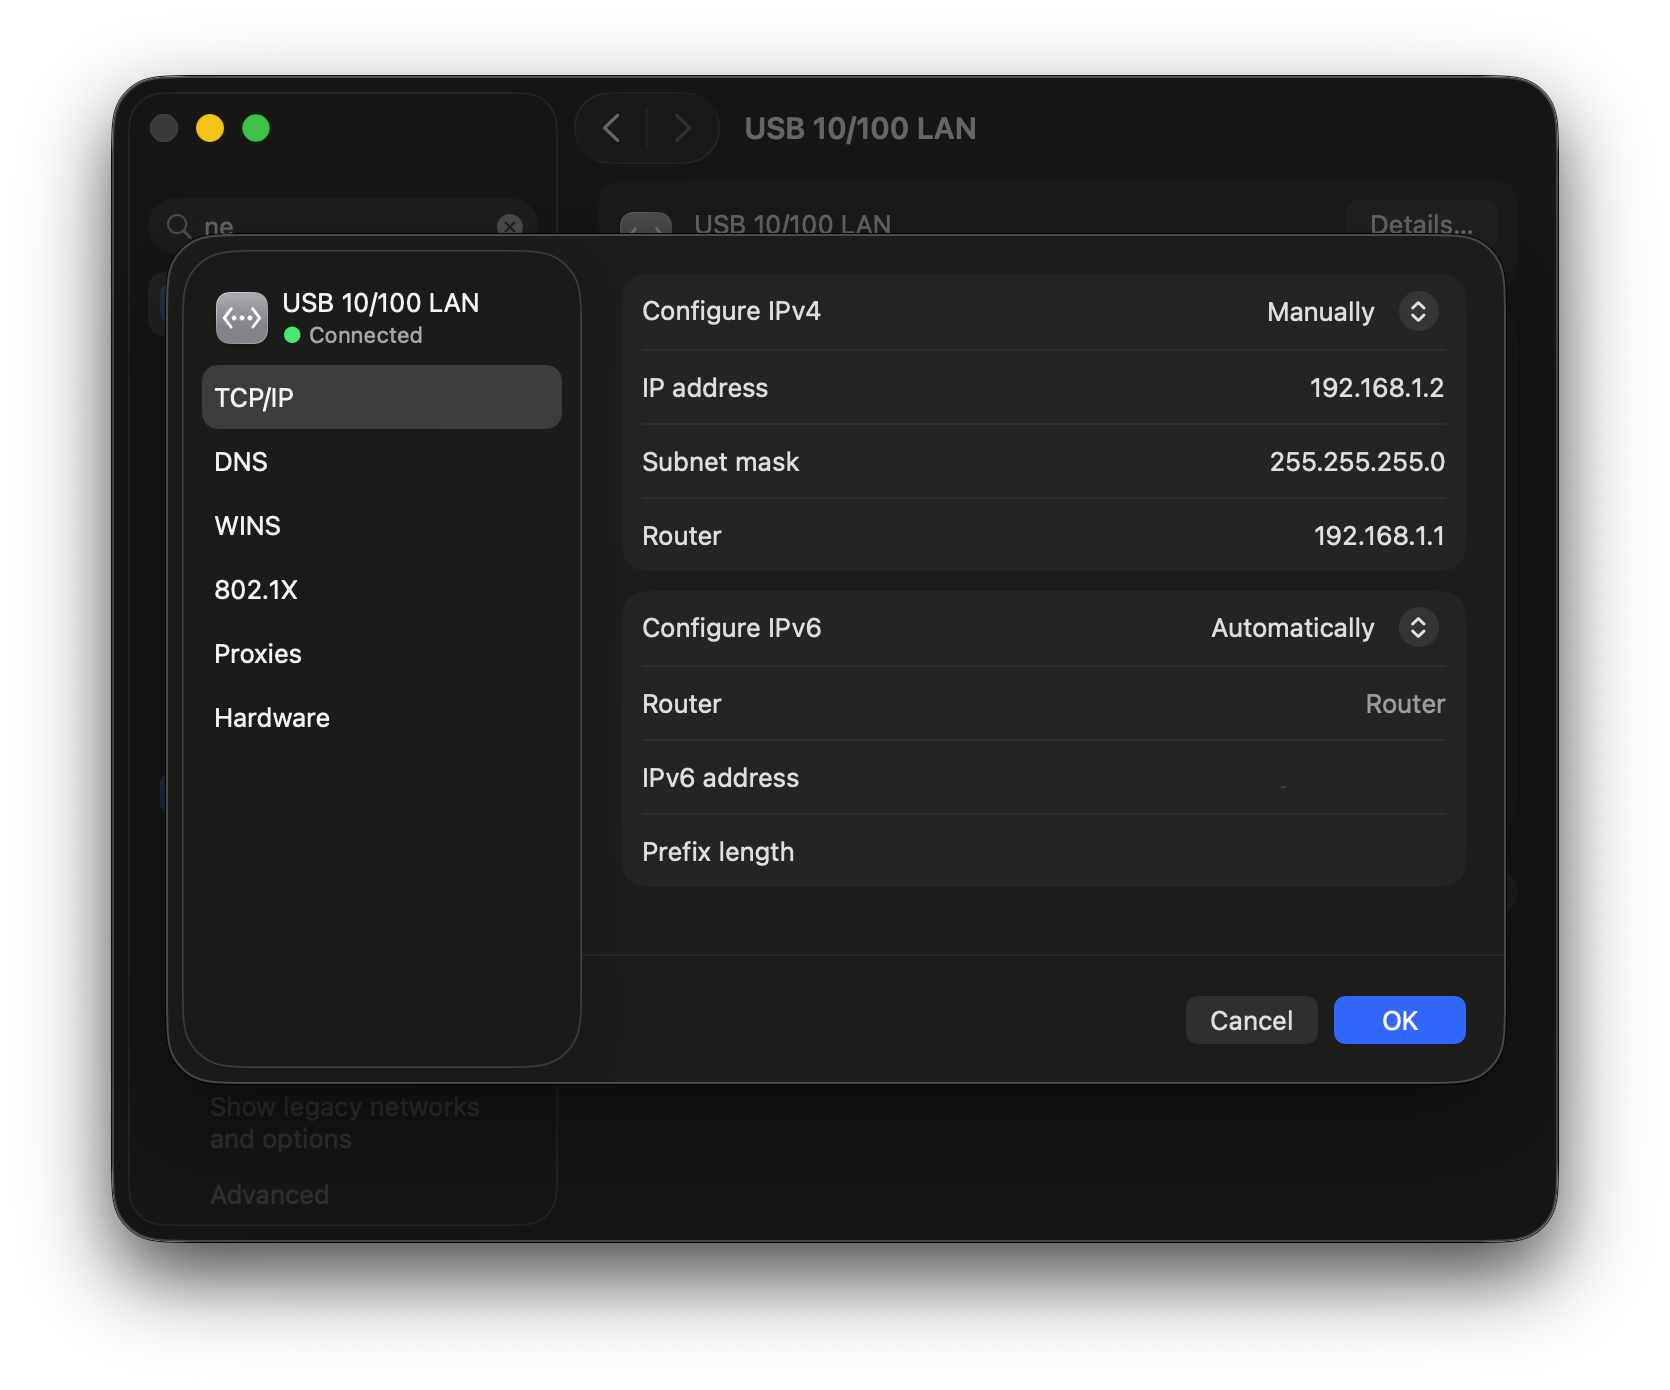
I clicked the Details button again and opened the TCP/IP section in the pop-up window. Under Configure IPv4, I made sure the setting was still on Manually, and updated the values to the following:
IP address: 192.168.1.2
Subnet mask: 255.255.255.0
Router: 192.168.1.1
Then I clicked OK in the bottom right corner of the window.
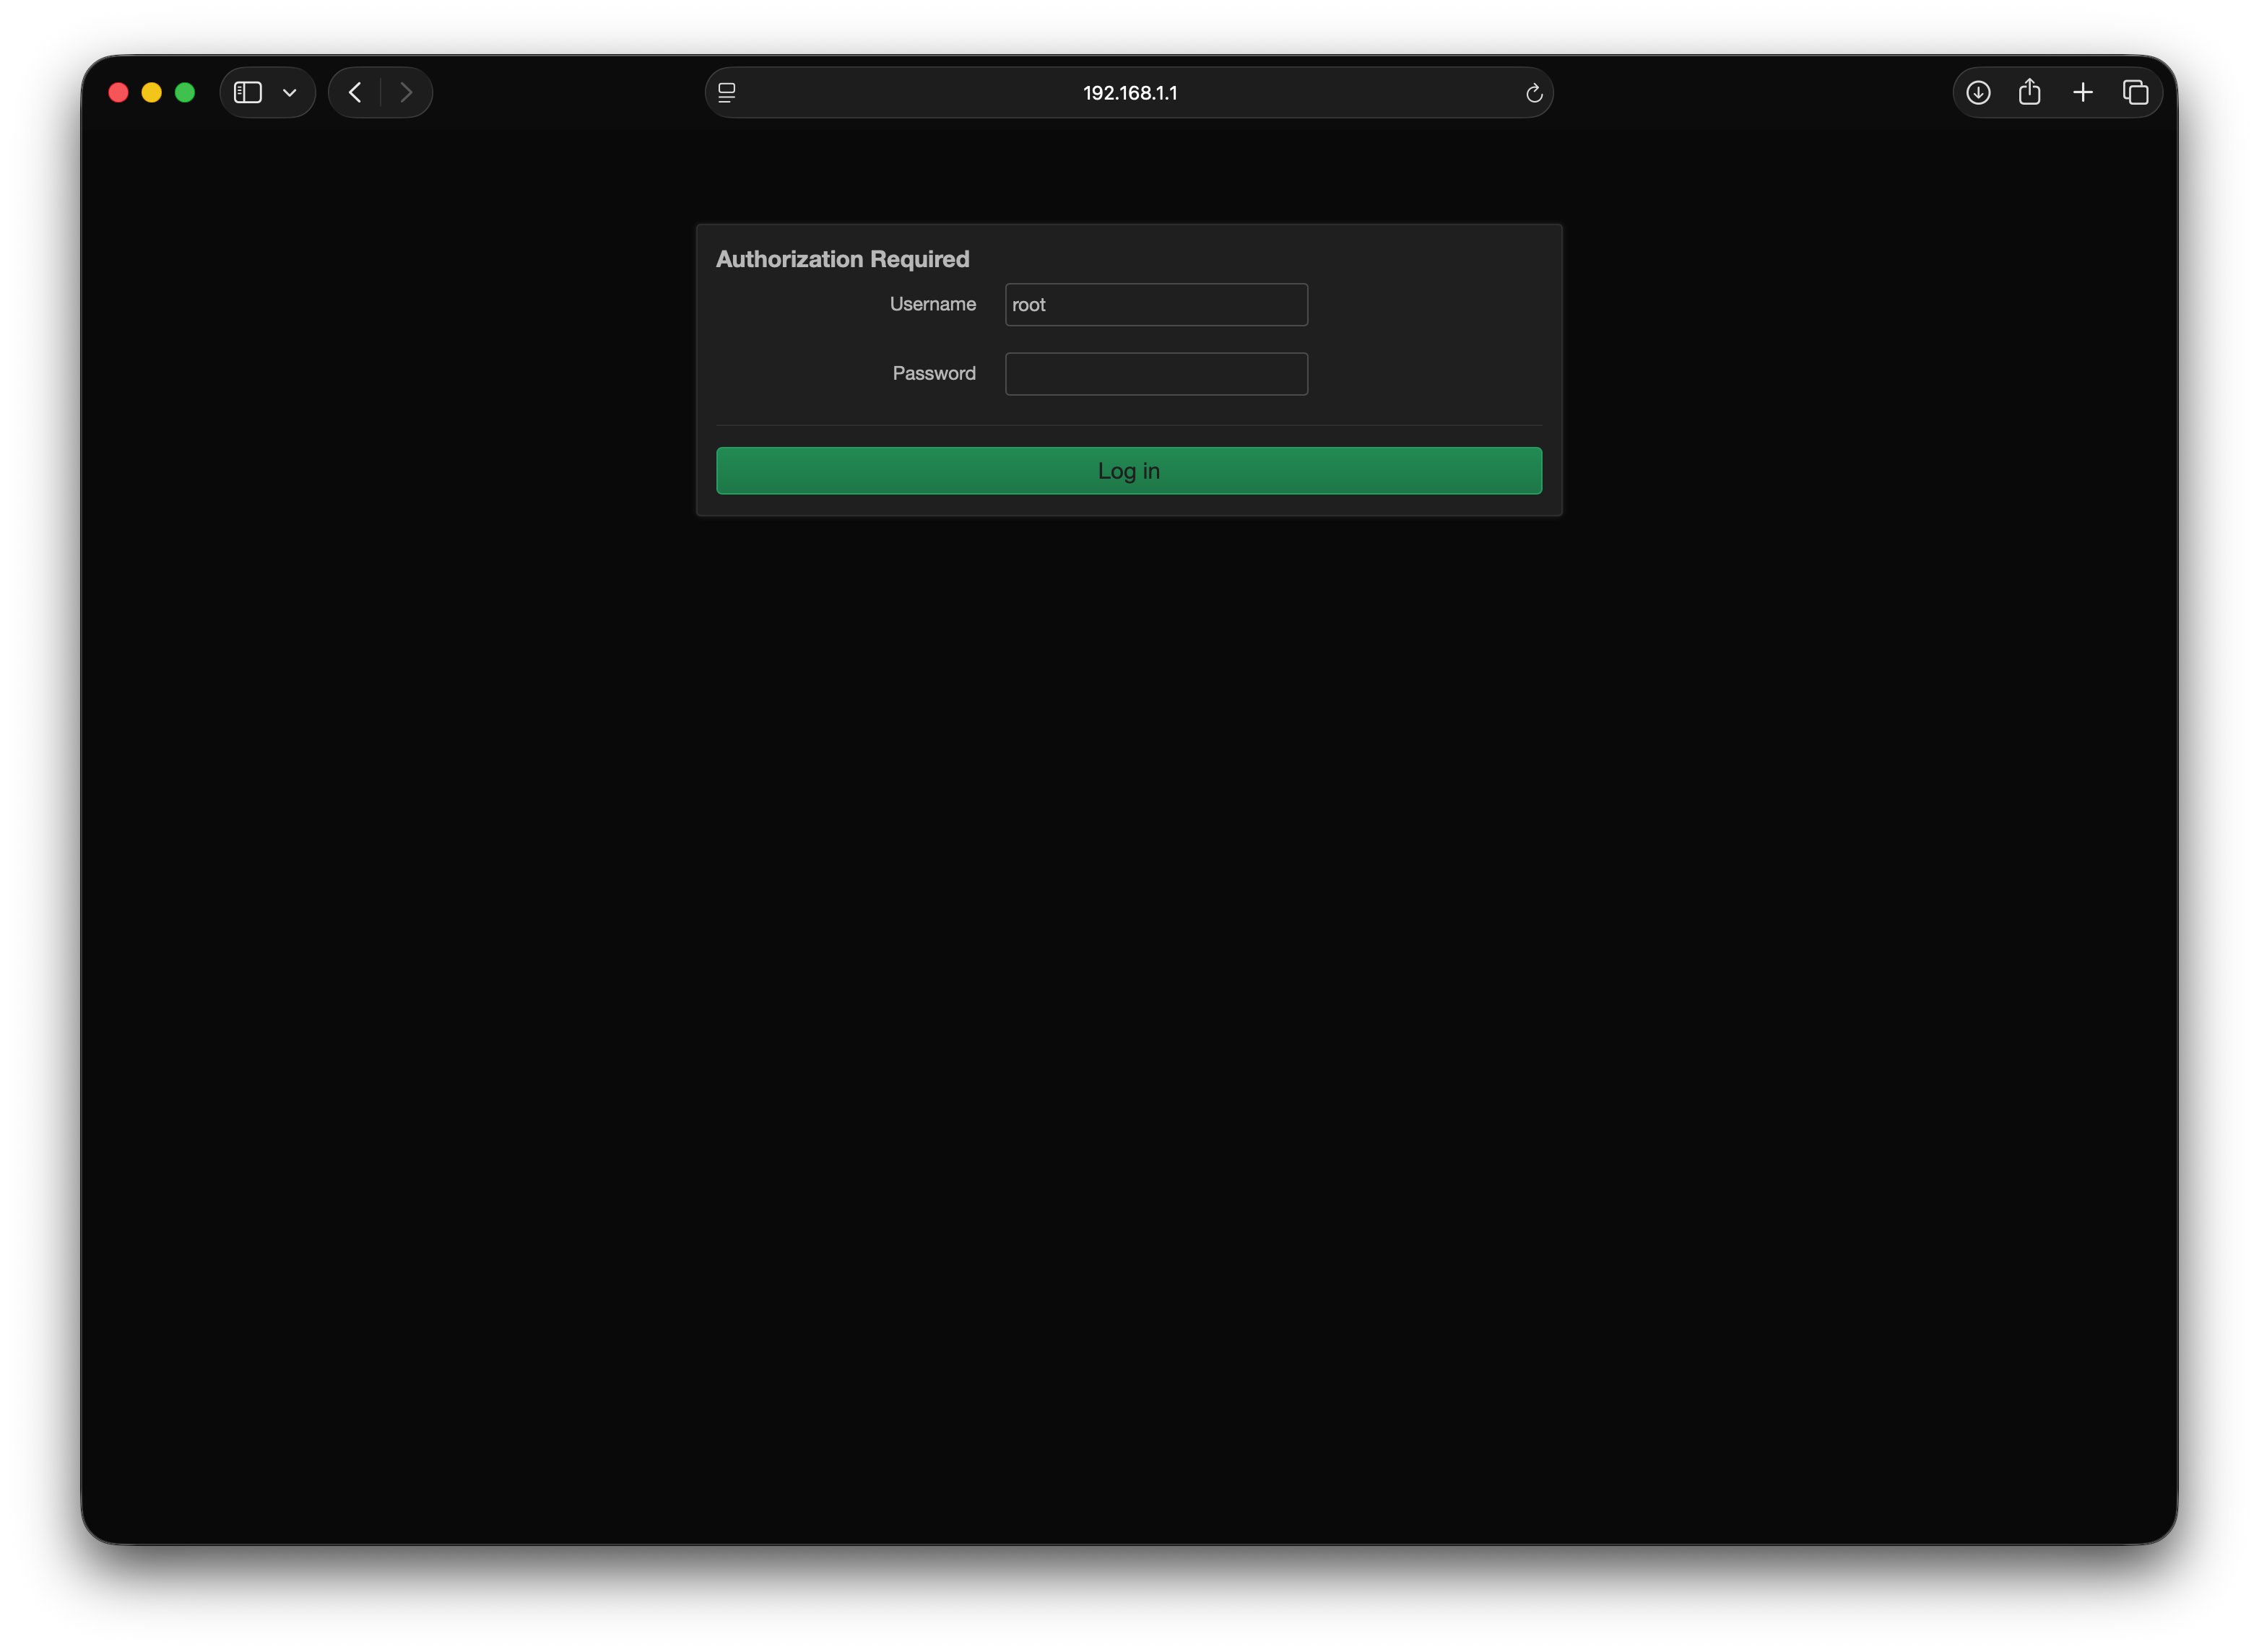
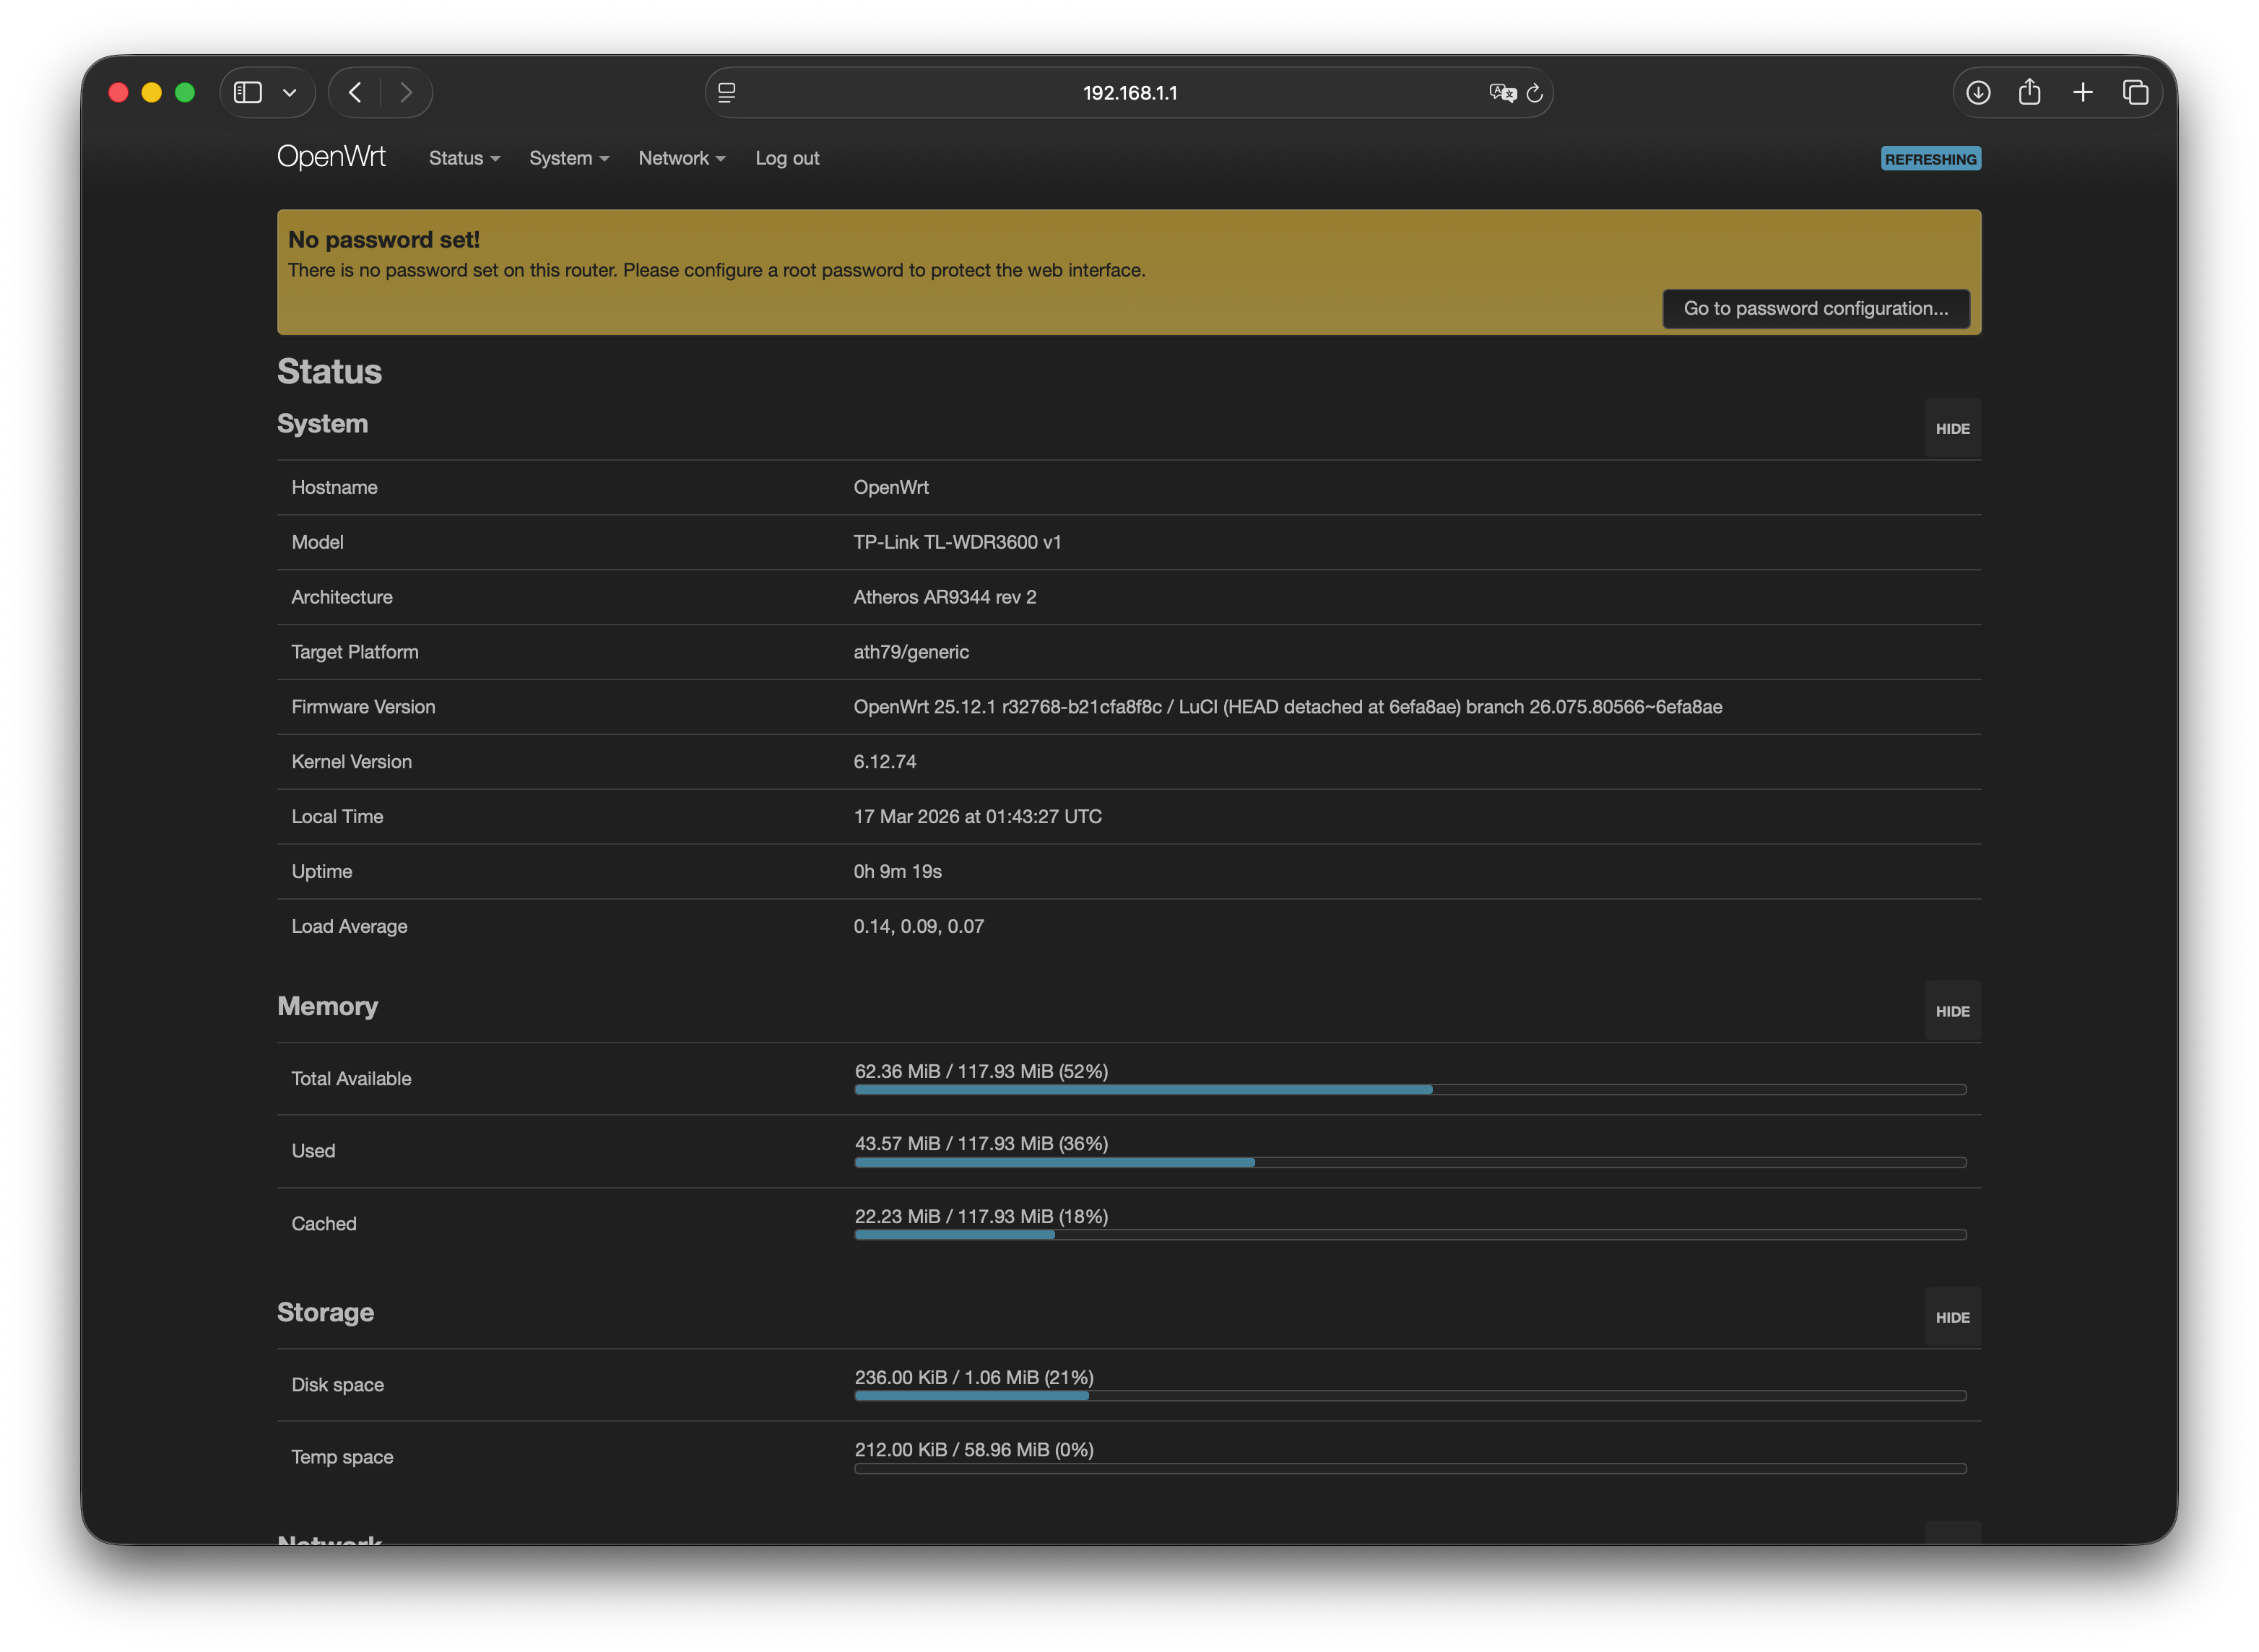
http://192.168.1.1 into the address bar to reach the newly flashed router. A new interface appeared, and the browser asked whether I wanted to save a password. I ignored this and simply pressed Enter. I had finally made it inside my newly flashed device.